
Most Mac users have never needed a bootable key, because macOS offers reinstallation via the recovery partition (Cmd + R at startup) or Internet recovery. However, having a spare bootable key can save the day in a number of situations:
| Situation | Why the USB key is useful |
|---|---|
| Mac that won't start at all | If the recovery partition is corrupted, the USB key is the only way to reinstall macOS without an Internet connection |
| Clean install | Completely erase the disk and start again from scratch, without the residue of the old installation |
| Updating several Macs | Install macOS on 5, 10 or 20 Macs without re-downloading 12 GB each time |
| Installing a specific version of macOS | Revert to a previous version (downgrade) or install a specific version for compatibility reasons |
| Replacing the SSD | After an SSD upgrade, the disk is empty and needs to be installed from external media |
If your Mac won't turn on and you don't have a bootable key, first consult our Mac troubleshooting guide that won't turn on for alternative solutions.
Creating a macOS bootable key requires three things:
A minimum 16 GB USB key. The macOS installer weighs around 12 to 14 GB depending on the version. A 16 GB key is sufficient, but 32 GB offers more room. Use a USB 3.0 key or higher for faster creation and installation. The key will be completely erased during the process.
The complete macOS installer. Free download from the App Store or via Terminal. Please note: you need the full installer, not the delta update. We explain how to download it in the next step.
A working Mac with administrator access. You'll need a Mac to prepare the key. If your only Mac breaks down, you can borrow one from a friend or acquaintance. The process does not change the Mac used for creation.
Open the App Store and search for the version of macOS you want (for example «macOS Sequoia» or «macOS Sonoma»). Click «Get» and then «Download». The installer will appear in the Applications folder once the download is complete (file named «Install macOS Sequoia» or similar).
For older versions of macOS that are no longer on the App Store, Apple offers direct download links via the command softwareupdate. Open Terminal and type :
softwareupdate --fetch-full-installer --full-installer-version 14.5
Replace «14.5» with the version number you require. The installer will be downloaded to the Applications folder.
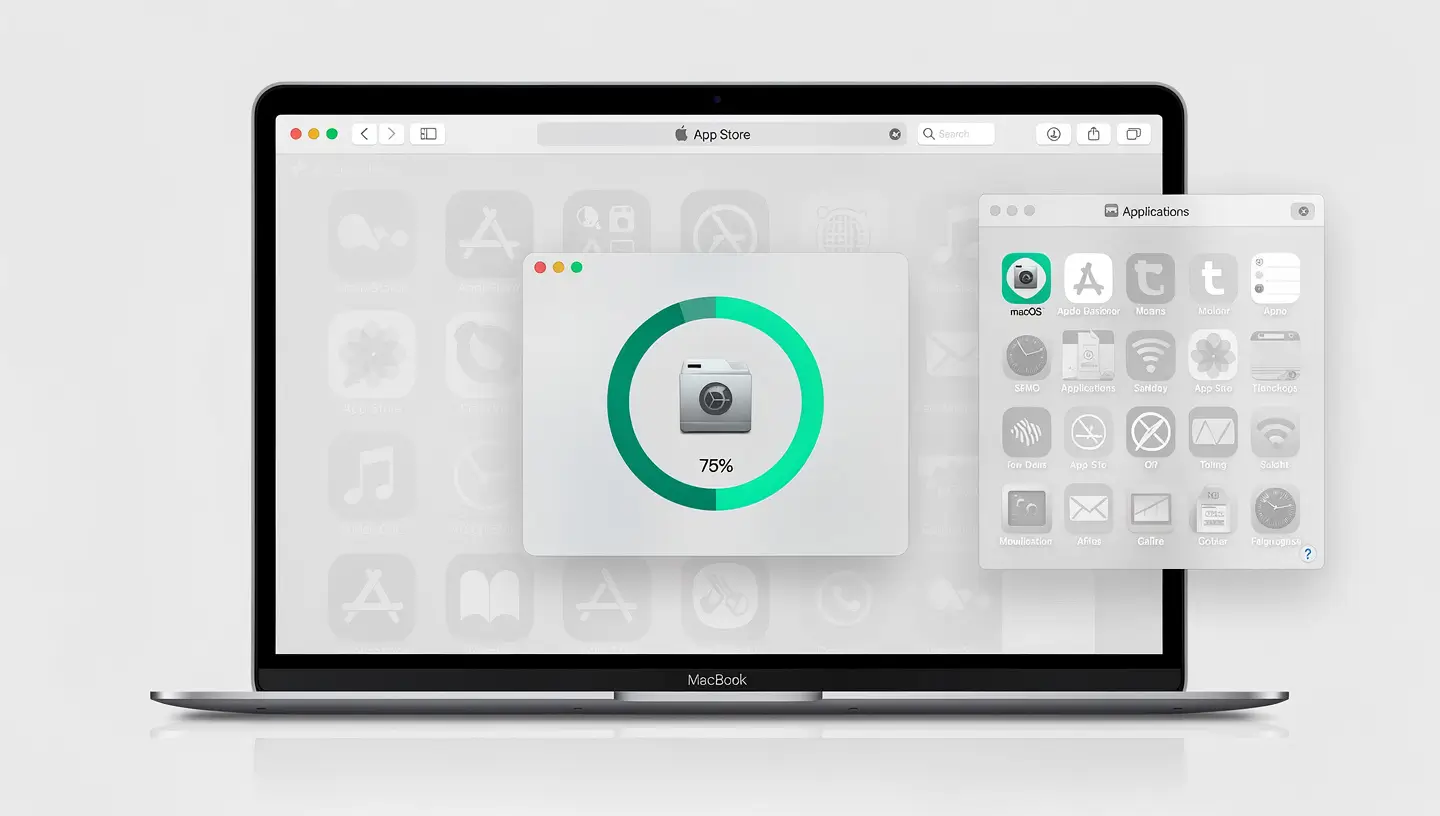
Insert the USB key into your Mac. Open the’Disk utility (Applications, Utilities, Disk Utility). Select the USB key in the left-hand sidebar (click on the device name, not the partition). Click on Delete at the top of the window.
Configure the following parameters:
| Parameter | Value to be selected |
|---|---|
| Name | MyVolume (or any other name without spaces or special characters) |
| Format | Mac OS extended (journalled) - also known as HFS+. |
| Diagram | GUID partition table |
Click on «Delete» and wait for the process to finish. The key is now ready to receive the installer.
This is the main step. Open the Terminal (Applications, Utilities, Terminal) and copy and paste the command corresponding to your version of macOS :
macOS Sequoia (15) :
sudo /Applications/Install\ macOS\ Sequoia.app/Contents/Resources/createinstallmedia --volume /Volumes/MyVolume
macOS Sonoma (14) :
sudo /Applications/Install\ macOS\ Sonoma.app/Contents/Resources/createinstallmedia --volume /Volumes/MyVolume
macOS Ventura (13) :
sudo /Applications/Install\ macOS\ Ventura.app/Contents/Resources/createinstallmedia --volume /Volumes/MyVolume
Press Enter, type your administrator password (the characters are not displayed, this is normal) and confirm. The terminal will ask you to confirm that you wish to delete the volume: type Y and press Enter.
The process takes 15 to 30 minutes, depending on the speed of the USB key. The Terminal displays progress as a percentage. Do not remove the key or close the Terminal until you see the message «Install media now available».
The start-up procedure differs depending on your Mac's processor type:
Switch off the Mac completely. Hold down the power button until you see the boot options (gear icon and available disks). Select the USB key (named «Install macOS [version]») and click «Continue».
Switch off your Mac. Turn it on by holding down the Option (Alt) key. The Startup Manager appears, showing the available disks. Select the USB key and click on the arrow to start.
If you don't know which processor is powering your Mac, use our Mac identification tool.
Once booted from the USB key, the macOS Recovery screen appears with several options:
| Option | When to use it |
|---|---|
| Install macOS [version] | Installation on top of the existing system (data retained) or on an empty disk |
| Disk utility | Erase the disk before a clean install, repair a corrupted disk |
| Restore from Time Machine | Restoring a full backup from a Time Machine disk |
| Terminal | Advanced access for command-line troubleshooting |
For a clean installation (recommended if you have system problems) : First open the Disk Utility, select your internal disk (usually «Macintosh HD»), click on «Erase», choose the APFS format and confirm. Exit Disk Utility, then select «Install macOS».
For installation on top (data retained) : select «Install macOS» and follow the on-screen instructions. Your files, applications and settings will be preserved.
For a full guide to resetting, see our Mac factory reset tutorial.
Here are the commands createinstallmedia for all recent versions of macOS. All follow the same format, only the name of the installer changes:
| MacOS version | Number | Name of installer |
|---|---|---|
| macOS Sequoia | 15 | Install macOS Sequoia |
| macOS Sonoma | 14 | Install macOS Sonoma |
| macOS Ventura | 13 | Install macOS Ventura |
| macOS Monterey | 12 | Install macOS Monterey |
| macOS Big Sur | 11 | Install macOS Big Sur |
| macOS Catalina | 10.15 | Install macOS Catalina |
The command always follows the same format: sudo /Applications/Install\ macOS\ [Name].app/Contents/Resources/createinstallmedia --volume /Volumes/MyVolume
If you need help installing macOS on your Mac, see our macOS installation service.
A minimum 16 GB key is required. The macOS installer weighs between 12 and 14 GB depending on the version. Opt for a 32 GB USB 3.0 key for greater comfort and speed.
No, each version of macOS has a list of compatible Macs. For example, macOS Sequoia does not work on Macs prior to 2017 (depending on the model). If the Mac is not compatible with the version on the key, the installation will be refused.
This is not officially supported by Apple. There are third-party tools such as TransMac (Windows) that can write a macOS installer to a USB stick, but the results are less reliable. We recommend always using a Mac to create the key.
Not automatically. If you select «Install macOS» directly, your data will be preserved. If you erase the disk using Disk Utility before installation (clean install), all data will be lost. Always make a Time Machine backup beforehand.
Yes, provided the version is compatible with your Mac. You first need to erase the disk using Disk Utility (the APFS partition must be reformatted), then install the desired version. Please note: a Mac delivered with macOS Sonoma cannot be downgraded below this version.
Yes, this is the normal behaviour of the sudo on macOS. When Terminal asks you for your password, the characters are not displayed (no dots or stars). Type your password blindly and press Enter.
Check that the key has been created correctly (the Terminal displays «Install media now available»). Try another USB port. On Apple Silicon Macs, make sure you hold down the power button when booting. If the Mac has a firmware password, it may block booting from external media.
Installation generally takes between 30 and 60 minutes, depending on the Mac model and the speed of the USB key. With a USB 3.0 key, it's considerably quicker than with a USB 2.0 key. The Mac will restart several times during the process, which is normal.
Yes, the key remains functional indefinitely. You can use it as often as you like on any compatible Mac. Store it in a safe place so you can find it if you need it. Remember to update it when a new version of macOS is released.
Internet recovery (Cmd + Option + R) downloads the installer from Apple's servers each time it is used, which requires a stable Internet connection and can take hours. The bootable key already contains the installer, it works offline and installation is much faster.


Over 15 years of Apple expertise in Brussels. Free, no-obligation quote and 180-day guarantee on repairs.