
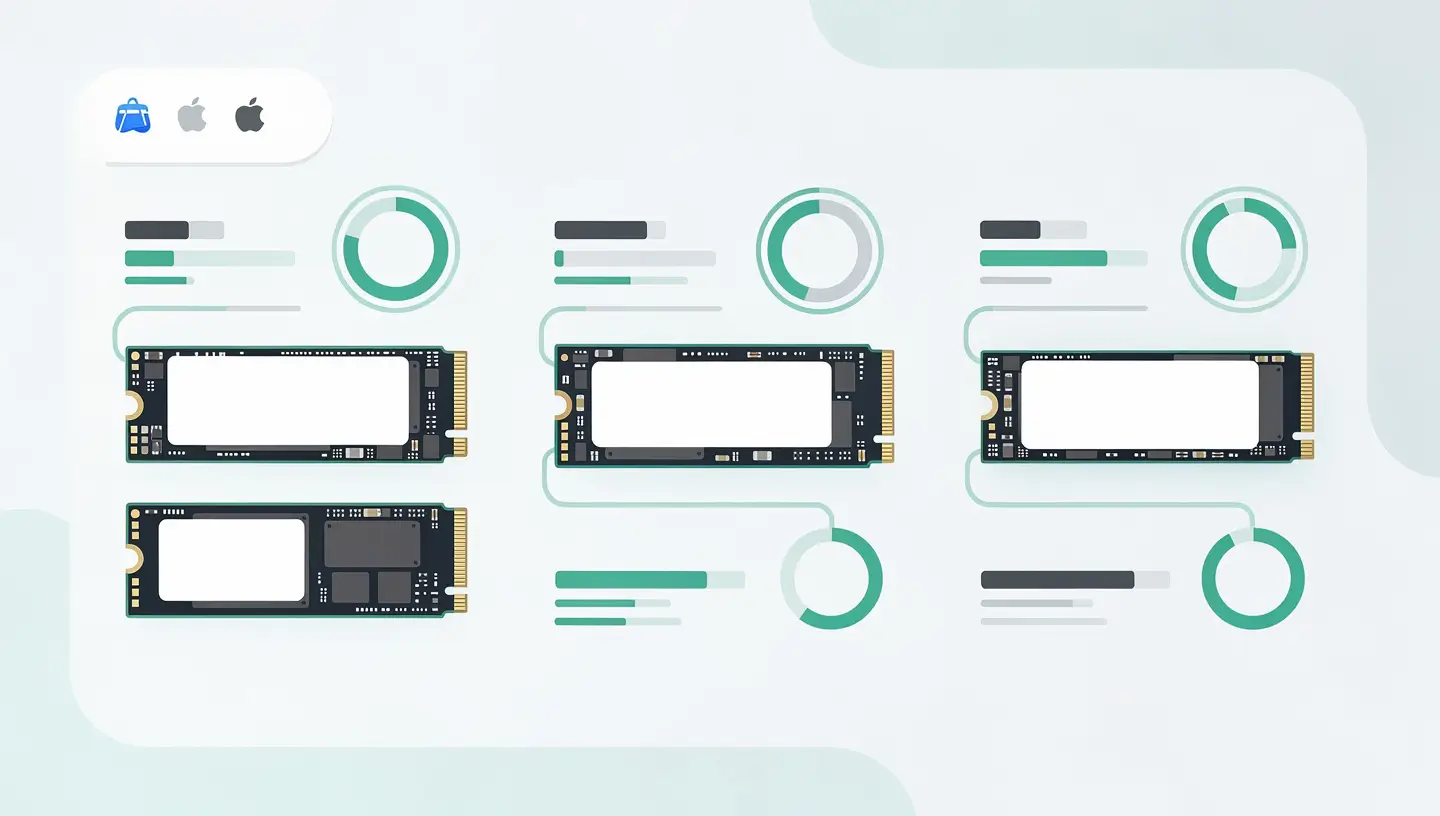
Before buying an SSD, check that your Mac allows replacement. Apple has progressively soldered components over the years, making upgrades impossible on recent models.
| Model | Upgradeable SSD? | Type of connector |
|---|---|---|
| MacBook Air 2013-2017 | Yes | Apple proprietary (M.2 adapter required) |
| MacBook Pro Retina 2013-2015 | Yes | Apple proprietary (M.2 adapter required) |
| MacBook Pro 2016-2017 | Technically yes, complex | Apple proprietary (specific adapter, soldering sometimes required) |
| iMac 2012-2019 (21.5″ and 27″) | Yes (models with M.2 slot) | M.2 NVMe native (iMac 27″ 2013+) or proprietary (depending on model) |
| Mac mini 2014 | Yes | Apple owner (adapter required) |
| Mac Pro 2013 (cylinder) | Yes | Apple owner |
| Mac Pro 2019 (tower) | Yes | Proprietary Apple module (T2) |
| Any Apple Silicon Mac (M1+) | No - Soldered SSD | N/A |
Use our Mac identification tool to determine the exact model of your Mac and its compatibility with an SSD upgrade. For a step-by-step guide to installation, see our article dedicated to the’upgrade SSD Mac.
Not all NVMe SSDs are created equal. Here are the criteria to prioritise for Mac use.
Interface and protocol : Compatible Macs use the NVMe protocol via a proprietary connector (with adapter) or native M.2. SATA M.2 SSDs are not compatible with Apple NVMe adapters - make sure you choose an NVMe SSD (M key).
Capacity : 500 GB is the comfortable minimum in 2026. 1 TB is recommended for stress-free use. 2TB SSDs are still expensive, but are justified for photographers, videographers and developers who handle large files.
Performance : Gen 3 NVMe SSDs (read ~3,500MB/s) are more than sufficient for compatible Macs, whose controllers are limited to Gen 3. Gen 4 SSDs also work, but will be limited to the Mac's Gen 3 speed - there's no point in paying the Gen 4 premium unless you plan to reuse the SSD in another device.
Endurance (TBW) : TBW (Terabytes Written) indicates the amount of data the SSD can write before theoretical wear and tear. For a Mac in normal use, 300 TBW (typical for a 500 GB SSD) guarantees 5 to 10 years of trouble-free life.
Warranty: Reputable brands (Samsung, Western Digital, Crucial) offer a 5-year warranty. Avoid noname SSDs with no warranty - reliability is paramount for your data storage.
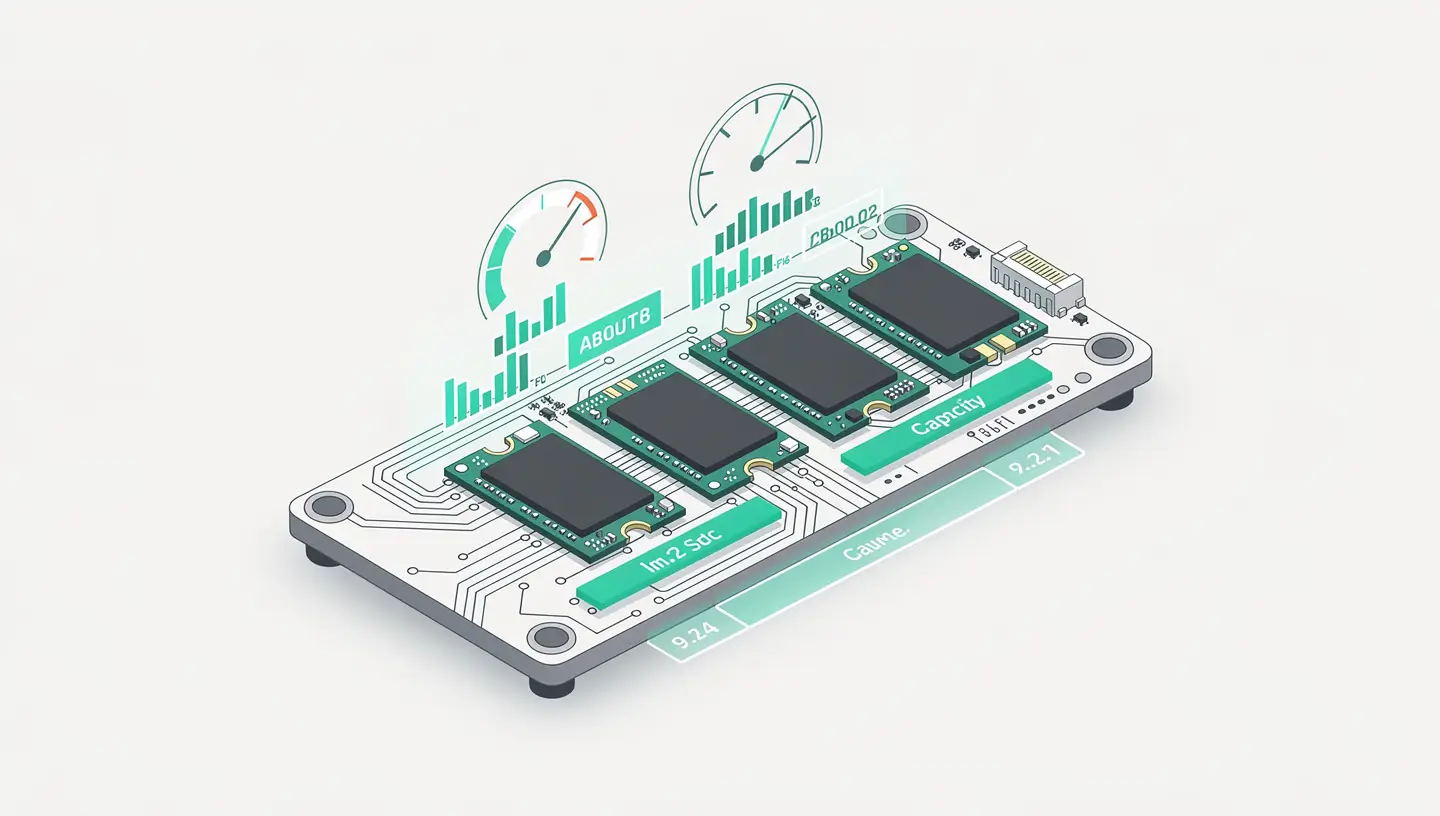
| SSD | Capabilities | Reading / Writing | Endurance | Best for |
|---|---|---|---|---|
| Samsung 970 EVO Plus | 250 GB to 2 TB | 3,500 / 3,300 Mb/s | 600 TBW (1 TB) | Best value for money and reliability |
| WD Black SN770 | 250 GB to 2 TB | 3,500 / 3,000 Mb/s (Gen 3) | 600 TBW (1 TB) | Excellent performance, good price |
| Samsung 980 PRO | 250 GB to 2 TB | 3,500 / 3,300 Mb/s (Gen 3 bridged) | 600 TBW (1 TB) | Maximum performance, reusable in Gen 4 |
| Crucial P3 Plus | 500 GB to 4 TB | 3,500 / 3,000 Mb/s (Gen 3) | 440 TBW (1 TB) | Tight budget, large capacities |
| SK Hynix P31 Gold | 500 GB to 2 TB | 3,500 / 3,200 Mb/s | 750 TBW (1 TB) | Low power consumption, excellent for MacBook (battery) |
Macs using a proprietary Apple SSD connector require an adapter to accommodate a standard NVMe M.2 SSD. These adapters are simple passive PCBs (no active electronics) that convert the physical connector - they do not affect performance.
Some important points to bear in mind when choosing an adaptor :
| Mac period | Adapter required |
|---|---|
| MacBook Air/Pro 2013-2014 | 12+16 pin to M.2 M-Key adapter (check exact version) |
| MacBook Air/Pro 2015-2017 | 12+16 pin to M.2 M-Key adapter (same family, check pin) |
| iMac 27″ 2013-2019 | Depending on model: native M.2 slot or proprietary adapter |
The adapter costs between £10 and £25 on Amazon or eBay. Check reviews and compatibility with your exact model before you buy - an incompatible adapter will prevent start-up. Depending on the Apple documentation on Mac SSDs, Each generation uses a slightly different pinout.
For Macs with non-replaceable SSDs (Apple Silicon, MacBook Pro 2018+), an external SSD is still the best option for expanding storage. Modern external SSDs via USB-C or Thunderbolt offer remarkable performance.
| External SSD | Interface | Speed | Capabilities | Special features |
|---|---|---|---|---|
| Samsung T7 Shield | USB 3.2 Gen 2 | 1050 Mb/s | 1 to 4 TB | IP65, shock- and water-resistant, compact |
| SanDisk Extreme Pro Portable | USB 3.2 Gen 2 | 2,000 MB/s | 1 to 4 TB | IP65, very fast, integrated snap hook |
| Samsung T9 | USB 3.2 Gen 2×2 | 2,000 MB/s | 1 to 4 TB | Shock-resistant, AES 256 hardware encryption |
| LaCie Rugged SSD Pro | Thunderbolt 3 | 2800 Mb/s | 1 to 4 TB | Native Thunderbolt, designed for pro video, IP67 |
| Crucial X9 Pro | USB 3.2 Gen 2 | 1050 Mb/s | 1 to 4 TB | Excellent value for money, IP55, compact |
For video editing or large photo libraries, a Thunderbolt SSD like the LaCie Rugged SSD Pro offers speeds close to those of an internal SSD. For general storage and backups, a USB 3.2 SSD like the Samsung T7 Shield is more than sufficient and costs much less.
You can install an internal SSD on a compatible Mac as long as you follow the steps carefully. Our complete Mac SSD upgrade guide explains the procedure model by model. Here are the main stages:
| Step | Action |
|---|---|
| 1 | Create a full backup Time Machine and optionally a macOS bootable USB key |
| 2 | Mount the NVMe SSD on the M.2 to Apple adapter (fixing screw included) |
| 3 | Open the Mac (Pentalobe screwdriver for MacBooks, Torx for iMacs) |
| 4 | Remove the old SSD and install the new one with its adapter |
| 5 | Boot into Recovery mode (Cmd+R), format the SSD with the’Disk utility in APFS |
| 6 | Install macOS then restore your data from Time Machine |
If you don't feel comfortable opening your Mac, our’Professional SSD upgrade carries out the operation using professional quality parts and a 180-day guarantee.
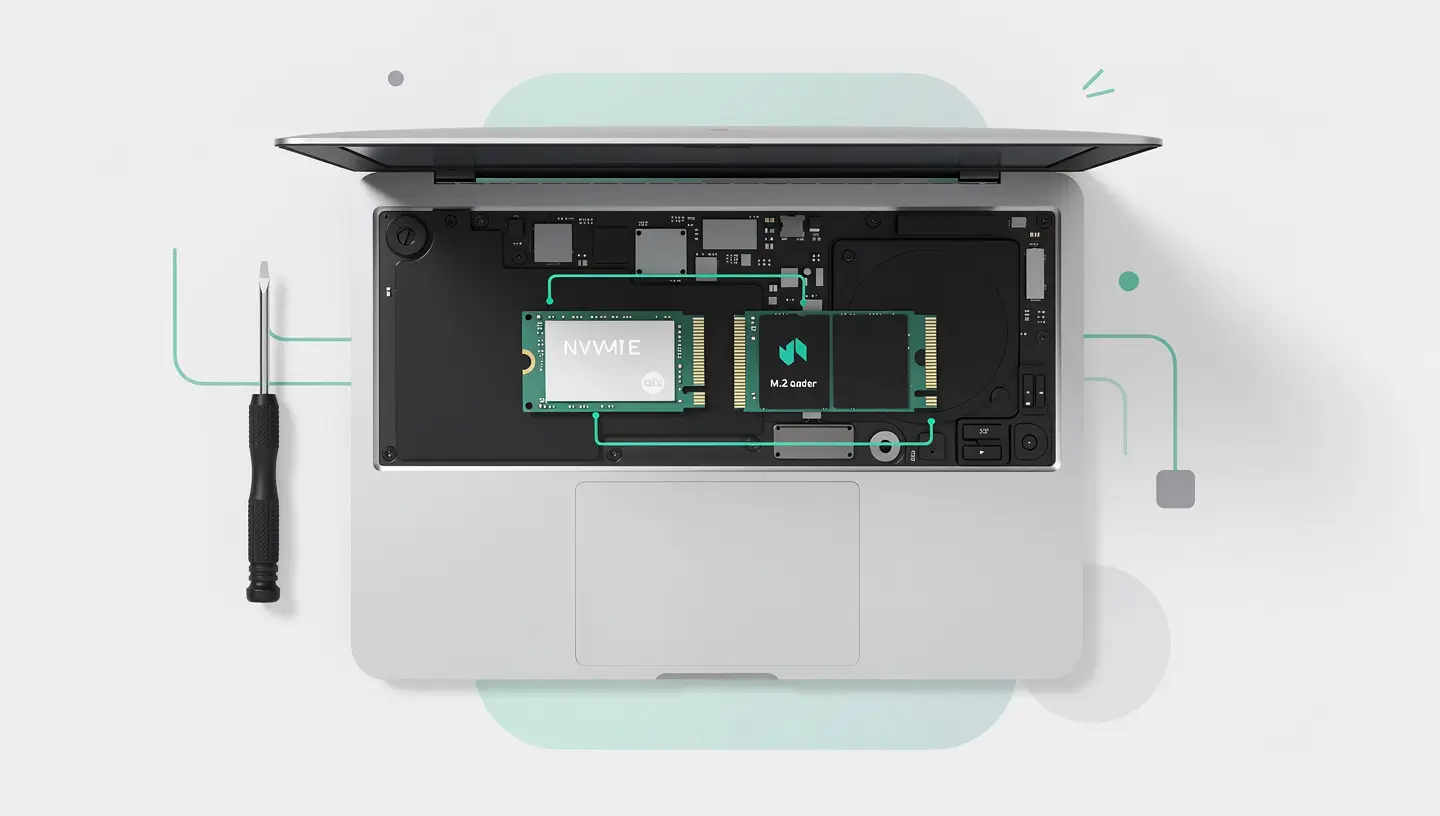
After installation, check performance with a benchmark. Blackmagic Disk Speed Test (free from the Mac App Store) is the benchmark tool: it measures sequential read and write speeds and displays compatibility with video formats (useful for videographers).
Speeds of 2,500-3,500 MB/s read and 2,000-3,300 MB/s write are expected for a good NVMe Gen 3 SSD. If the results are significantly lower, check that the SSD is recognised as NVMe (not AHCI) in System Information → NVMExpress.
You can also use the Terminal with the command diskutil info disk0 to check the connection type and capacity of the SSD, or smartctl (via Homebrew) to monitor the health of the SSD over time.
No. On all Apple Silicon Macs, the SSD is soldered to the motherboard and is an integral part of the SoC package. It cannot be replaced or upgraded. That's why it's crucial to choose the right storage capacity at the time of purchase.
Yes, Gen 4 SSDs are backward compatible with Gen 3 interfaces. They will work perfectly but will be limited to the maximum Gen 3 speed (~3,500 MB/s). Buying a Gen 4 SSD is only worthwhile if you plan to reuse it in a Gen 4 device at a later date.
APFS is the best choice for an SSD used exclusively with Macs (optimum performance, encryption support). exFAT is the universal format compatible with Mac and Windows without third-party software - ideal for sharing between the two systems. NTFS is Windows native but read-only on Mac without third-party software.
A quality SSD (Samsung, WD, Crucial, SK Hynix) easily lasts 5 to 10 years in normal use. Endurance is measured in TBW: a 1TB SSD with 600 TBW supports the writing of 600TB of data, which corresponds to decades of normal use. Premature failures are rare on reputable brands.
This is the most impactful upgrade for an ageing Mac. Switching from an original Apple SSD (often 128 or 256GB, moderate speed) to a 1TB NVMe SSD halves or triples boot times and application launch times. It's a Mac that looks like new. See our complete guide for your model.
Yes, MacBooks use Pentalobe P5 screws (5-pointed star) for the bottom cover. An iFixit tool kit or Pentalobe P5 screwdriver is essential. Internal screws generally use Torx T5 or T3. Never use an unsuitable screwdriver - you risk rounding off the screw heads.
Yes, for most tasks. A USB 3.2 Gen 2 SSD (1,050 MB/s) is sufficient for photo editing, HD video editing and office work. For real-time 4K multicam video editing, a Thunderbolt SSD (2,800 MB/s) is preferable. Avoid working directly on a mechanical hard disk - performance will be inadequate in 2026.
Install DriveDx (chargeable) or smartmontools via Homebrew (free, command line). These tools read the SSD's SMART data to assess its health, temperature, number of sector reallocations and remaining endurance. An SSD that reports SMART errors requires preventive replacement before data loss occurs.
Since macOS Yosemite, TRIM is automatically activated for third-party SSDs formatted in APFS. If your SSD is HFS+, you can activate TRIM manually with the Terminal command sudo trimforce enable. TRIM improves long-term write performance by allowing the SSD to recycle blocks of deleted data.
The main risk is data loss if you don't have a backup. The physical operation is simple but requires care. The risk of damaging the motherboard or other components is low if you follow the instructions and use the right tools. For maximum safety, leave the operation to a professional such as MAC repair.


Over 15 years of Apple expertise in Brussels. Free, no-obligation quote and 180-day guarantee on repairs.