
Partitionner un disque consiste à le diviser en plusieurs sections indépendantes, chacune se comportant comme un disque distinct aux yeux de macOS. Plusieurs situations justifient cette opération : installer un second système d’exploitation (Windows via Boot Camp sur les Mac Intel, ou une ancienne version de macOS pour tester la compatibilité), séparer les données personnelles du système pour faciliter les réinstallations, créer un volume dédié à la sauvegarde Time Machine sur un disque externe de grande capacité, ou isoler un environnement de développement.
Avant de vous lancer, il est essentiel de comprendre la différence entre les volumes APFS et les partitions classiques, car macOS propose les deux approches — et le bon choix dépend de votre situation.
Depuis macOS High Sierra (2017), Apple utilise le système de fichiers APFS (Apple File System) par défaut sur tous les Mac équipés de SSD. Ce système de fichiers moderne change fondamentalement la manière dont on gère l’espace disque.
| Critère | Partition classique | Volume APFS |
|---|---|---|
| Allocation d’espace | Fixe — taille définie à la création | Dynamique — espace partagé automatiquement |
| Redimensionnement | Nécessite une opération dédiée (risque de perte de données) | Automatique, sans intervention |
| Vitesse de création | Plusieurs minutes (déplacement de données) | Quasi instantanée |
| Système de fichiers | APFS, Mac OS étendu (HFS+), ExFAT, FAT32 | APFS uniquement |
| Cas d’usage idéal | Boot Camp (Windows), disques externes multi-OS | Séparation de données, multi-macOS, développement |
La création d’un volume APFS est la méthode moderne et recommandée pour séparer vos données sur un Mac récent. L’opération est rapide, réversible et sans risque pour vos données existantes.
Le nouveau volume apparaît immédiatement dans le Finder, dans la barre latérale sous « Emplacements ». Vous pouvez y accéder comme n’importe quel disque. Pour des manipulations plus avancées de l’Utilitaire de disque, consultez notre guide complet de l’Utilitaire de disque Mac.

La création d’une partition classique est nécessaire dans certains cas spécifiques : installer Windows via Boot Camp (Mac Intel uniquement), formater une section de disque externe en ExFAT pour un usage mixte Mac/Windows, ou maintenir une compatibilité avec des systèmes plus anciens.
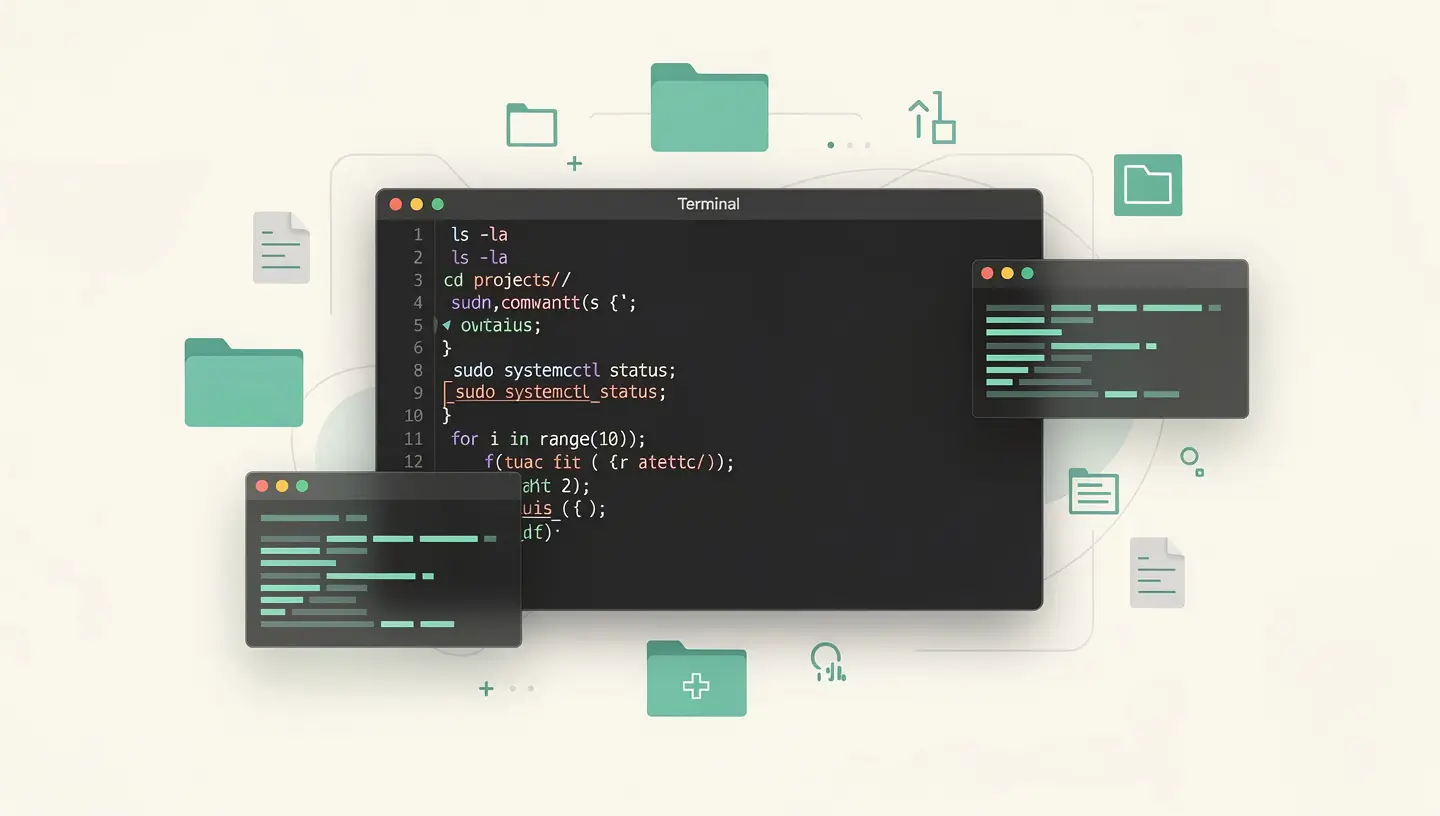
Le Terminal offre un contrôle granulaire sur le partitionnement via la commande diskutil. Cette approche est réservée aux utilisateurs avancés qui ont besoin de précision ou d’automatisation. Pour vous familiariser avec le Terminal, notre guide des Mac Terminal commands couvre les bases essentielles.
diskutil apfs addVolume diskX APFS "NomDuVolume"
Remplacez diskX par l’identifiant de votre conteneur APFS (visible avec diskutil list) et « NomDuVolume » par le nom souhaité.
diskutil apfs addVolume diskX "APFS (Encrypted)" "NomDuVolume" -passphrase "VotreMotDePasse"
diskutil list
Cette commande affiche l’arborescence complète de tous les disques, conteneurs, volumes et partitions de votre Mac. C’est le point de départ indispensable avant toute manipulation.
diskutil partitionDisk diskX GPT APFS "Volume1" 50% ExFAT "Volume2" 50%
partitionDisk efface entièrement le disque ciblé avant de créer les nouvelles partitions. Utilisez-la uniquement sur un disque vide ou dont vous avez sauvegardé l’intégralité des données. Pour ajouter une partition sans effacer, utilisez plutôt diskutil splitPartition.
L’Assistant Boot Camp crée automatiquement une partition dédiée à Windows sur votre disque interne. Vous n’avez pas besoin d’utiliser l’Utilitaire de disque — l’Assistant gère tout : le partitionnement, le formatage en NTFS et l’installation des pilotes Apple. Prévoyez au minimum 64 Go pour Windows, idéalement 128 Go si vous comptez installer des applications. Notre guide dual boot Mac Windows détaille la procédure complète.
Si vous partagez un disque externe entre un Mac et un PC Windows, le format ExFAT est le meilleur compromis : lisible et inscriptible nativement par les deux systèmes. Vous pouvez aussi partitionner le disque en deux : une partition APFS pour Time Machine et une partition ExFAT pour l’échange de fichiers.
Créez un volume APFS séparé et installez la bêta macOS dessus. Au démarrage, maintenez la touche Option (Alt) pour choisir sur quel volume démarrer. Cette approche protège votre installation principale de tout problème lié à la bêta. Une fois la période de test terminée, supprimez simplement le volume — l’espace est libéré instantanément.
Depuis macOS Catalina, Apple sépare déjà le système (volume en lecture seule) et les données utilisateur en deux volumes APFS distincts. Créer un troisième volume pour vos projets ou fichiers de travail peut faciliter la réinstallation de macOS sans toucher à vos données personnelles.

Pour aller plus loin dans la gestion de vos disques, Apple fournit une documentation complète sur le partitionnement avec l’Utilitaire de disque.
Ajouter un volume APFS n’efface aucune donnée existante — c’est une opération non-destructive et quasi instantanée. Ajouter une partition classique ne devrait pas effacer les données non plus, mais comporte un risque lors du redimensionnement. La commande Terminal partitionDisk efface entièrement le disque. Dans tous les cas, effectuez une sauvegarde préalable.
Une partition divise physiquement le disque en sections de taille fixe. Un volume APFS est une subdivision logique à l’intérieur d’un conteneur APFS, avec un espace partagé dynamiquement. Les volumes APFS sont plus flexibles : ils grandissent et rétrécissent automatiquement selon les besoins, sans gaspiller d’espace.
Oui, vous pouvez ajouter des volumes APFS au conteneur principal. En revanche, créer des partitions classiques sur le disque interne d’un Mac Apple Silicon est limité par les mécanismes de sécurité du système (Signed System Volume). La méthode recommandée est d’ajouter des volumes APFS.
ExFAT est le meilleur choix : il est lisible et inscriptible nativement par macOS, Windows et la plupart des appareils (TV, consoles). Il n’a pas la limite de 4 Go par fichier du format FAT32. Pour un disque exclusivement Mac, APFS est optimal.
Dans l’Utilitaire de disque, sélectionnez le disque physique, cliquez sur Partitionner, puis faites glisser le séparateur dans le diagramme circulaire. Le redimensionnement n’est possible que si l’espace libre le permet et que les données ne bloquent pas l’opération. Les volumes APFS se redimensionnent automatiquement.
Oui. Créez un volume APFS supplémentaire et installez la seconde version de macOS dessus. Au démarrage, maintenez la touche Option (Alt) pour choisir le volume de démarrage. C’est la méthode recommandée pour tester des versions bêta sans risquer votre installation principale.
Plusieurs causes possibles : vous avez sélectionné un volume au lieu du disque physique (activez « Afficher tous les appareils »), le disque est en cours d’utilisation par Time Machine ou un autre processus, ou le schéma de partition du disque n’est pas compatible (GUID requis). Si le problème persiste, notre équipe peut vous aider via un free diagnosis.
Non. Boot Camp n’est pas disponible sur les Mac équipés de puces Apple Silicon (M1 et ultérieurs). Pour exécuter Windows sur ces machines, il faut utiliser un logiciel de virtualisation comme Parallels Desktop ou UTM, qui fonctionnent sans partitionnement — Windows tourne dans une fenêtre à l’intérieur de macOS.
Si votre disque externe est suffisamment grand (au moins 2 fois la taille de votre disque interne), vous pouvez créer un volume APFS dédié à Time Machine et utiliser le reste pour du stockage classique. macOS gère très bien cette configuration. Consultez notre guide Time Machine pour la mise en place.
Bien sûr. Avec plus de 15 ans d’expérience depuis 2010, notre équipe réalise le partitionnement, la configuration multi-boot et la migration de données entre volumes. Nous nous assurons que vos données sont sauvegardées avant toute manipulation et vérifions l’intégrité du disque après l’opération. Garantie 180 jours sur toutes nos interventions.
Over 15 years of Apple expertise in Brussels. Free, no-obligation quote and 180-day guarantee on repairs.