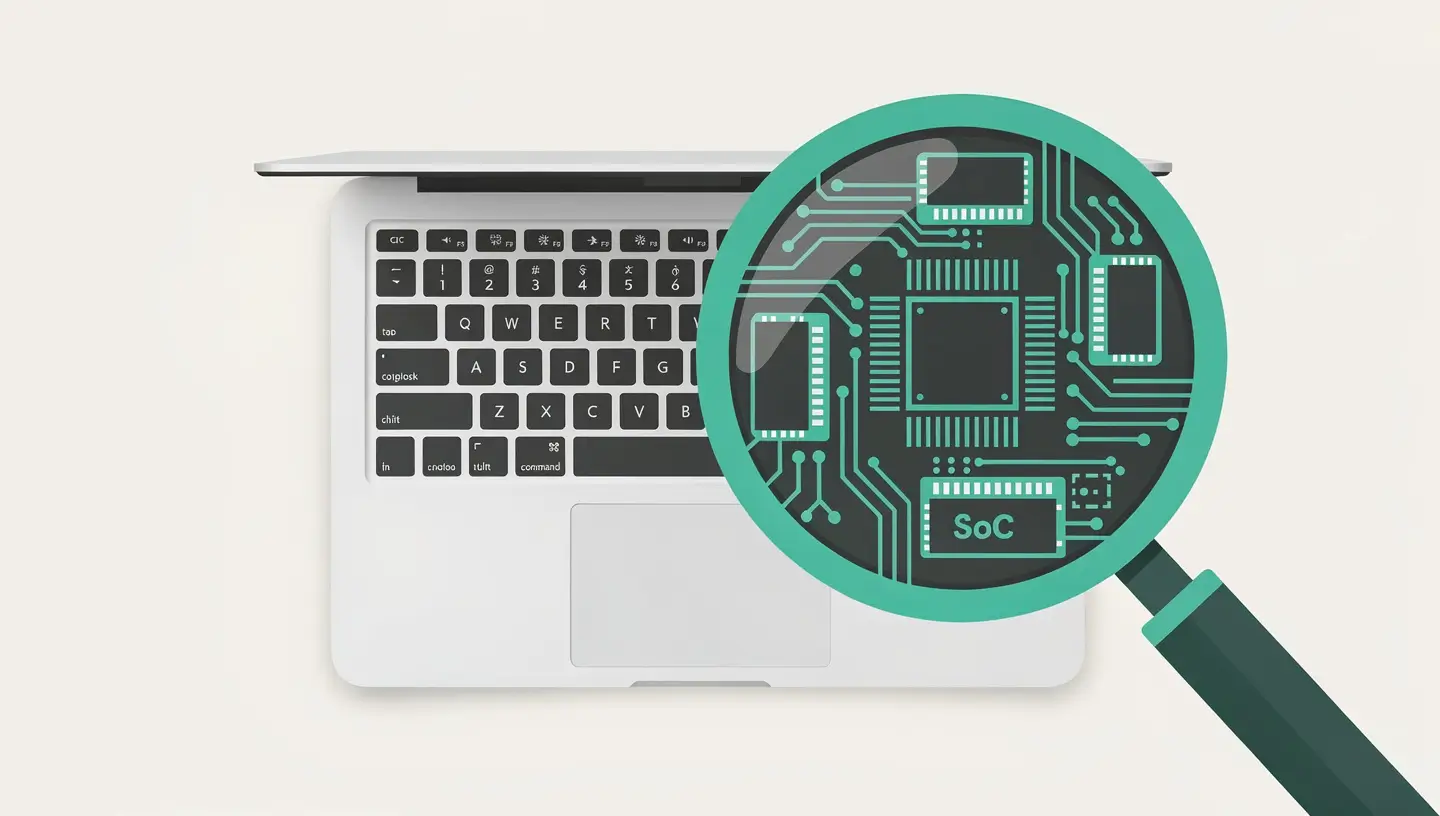

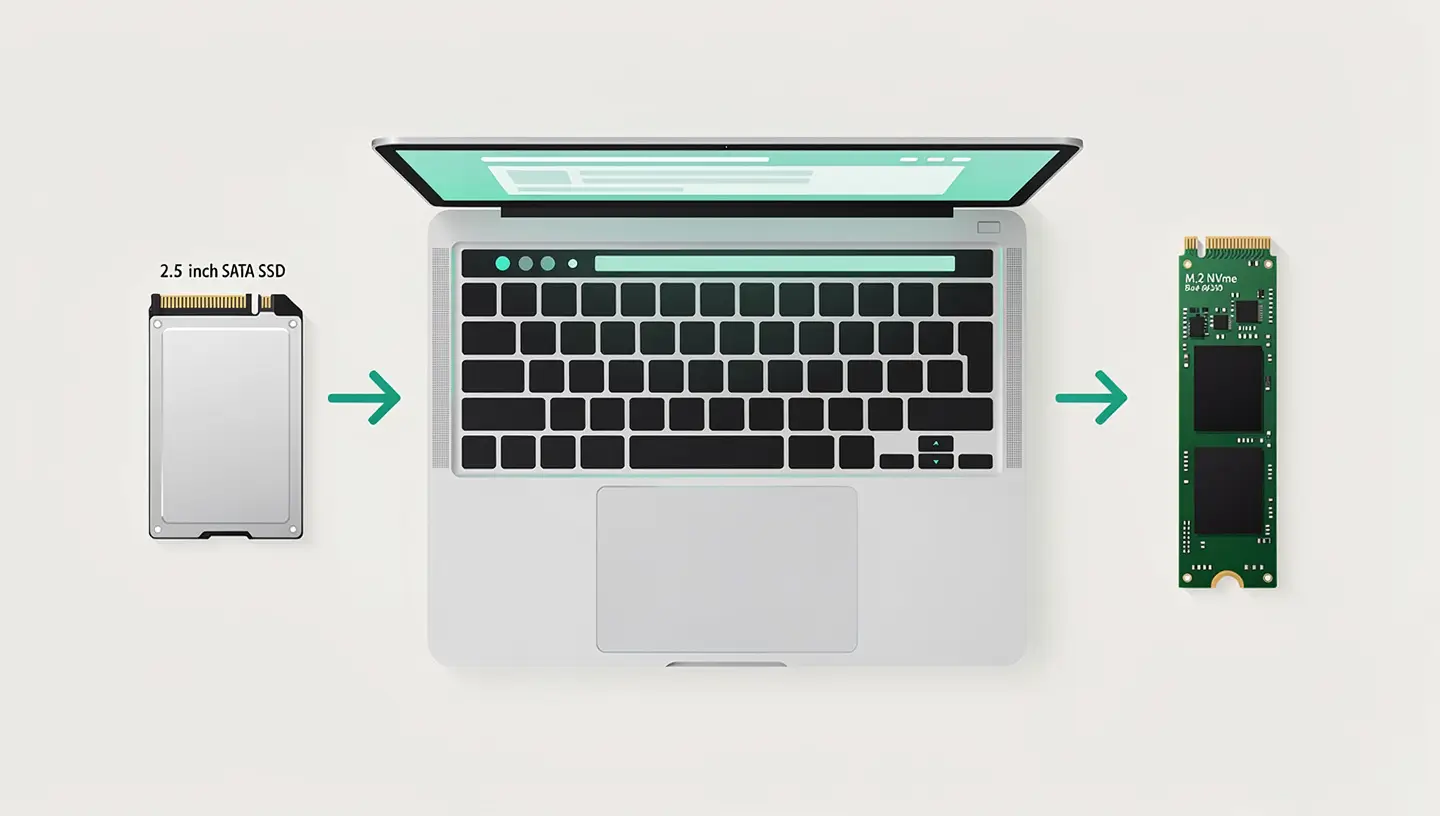
The first - and most critical - step is to identify exactly what type of SSD your Mac accepts. Unlike PCs, where the M.2 NVMe format has become universal, Apple has used different connectors and formats over the generations, some of which are proprietary.
The most reliable way to identify your Mac is to click on Apple → About this Mac and note the model name and year. For even more accurate identification by model number (Axxxx), use our Mac identification tool. Once you have identified your model, consult the compatibility table below.
Two storage technologies coexist in the Mac world. Understanding their differences allows you to make an informed choice and assess the expected performance gain.
| Criteria | SSD SATA | NVMe SSDs |
|---|---|---|
| Interface | SATA III (6 Gbit/s) | PCIe (variable according to generation) |
| Sequential read rate | 500-560 Mb/s (theoretical maximum) | 1,500 to 7,000 Mb/s depending on generation |
| Sequential write rate | 400-530 Mb/s | 1,200 to 5,000 Mb/s |
| Physical format | 2.5″ (7 or 9.5 mm thick) | M.2 2280 or Apple proprietary |
| Indicative price (1TB) | 60 - 100 € | 80 - 150 € (+ adapter if owner) |
| Compatible Macs | MacBook Pro pre-2013, iMac 2012-2019, Mac mini 2012 | MacBook Pro Retina 2013-2015, MacBook Air 2013-2017 |
In practice, even a SATA SSD (the slower of the two) represents a colossal performance gain over a mechanical hard drive: boot-up time is cut from 2 minutes to 15 seconds, applications launch in 1-2 seconds instead of 10-30 seconds, and the system as a whole becomes more responsive.

| Mac model | SSD format | Connector | Max. capacity tested | Difficulty of installation |
|---|---|---|---|---|
| MacBook Pro 13″/15″ (2009-2012 non-Retina) | SATA 2.5″ 7 mm | Standard SATA III | 4 To | Easy |
| MacBook Pro Retina 13″/15″ (2013-2015) | Proprietary NVMe blade | 12+16 pin or 22 pin connector | 2 To | Moderate (adapter required) |
| MacBook Air (2013-2017) | Proprietary NVMe blade | 12+16 pin connector | 2 To | Moderate (adapter required) |
| MacBook Pro/Air (2016+) | Soldered SSD | Non-replaceable | — | — |
| iMac 21.5″ (2012-2019) | SATA 2.5″ 7 mm | Standard SATA III | 4 To | Difficult (screen glue) |
| iMac 27″ (2012-2020) | SATA 2.5″ or PCIe blade | SATA III or PCIe | 4 To | Difficult (screen glue) |
| Mac mini (2012) | SATA 2.5″ 7 mm | Standard SATA III | 4 To | Moderate |
| Mac mini (2014-2018) | SATA 2.5″ or PCIe blade | Varies according to model | 2 To | Difficult |
| Mac mini/iMac/MacBook (Apple Silicon) | Soldered SSD | Non-replaceable | — | — |
| Mac Pro (2010-2012 tour) | SATA 3.5″ or 2.5″ (with adapter) | SATA II/III | 4 TB per bay | Easy |
The choice of capacity depends on your use. 250 GB is the bare minimum for macOS and a few applications - too small for comfortable use when storing photos or projects. 500 GB covers the needs of most users (office work, browsing, personal photos). 1 TB offers appreciable peace of mind and is suitable for demanding users (development, photo editing, music library). 2 TB is for professionals (video editing, audio production, large photographic libraries).
| Format | Reliable brands | Preferred models |
|---|---|---|
| SATA 2.5″ | Samsung, Crucial, Western Digital | Samsung 870 EVO, Crucial MX500, WD Blue SA510 |
| NVMe M.2 (with Mac adapter) | Samsung, Western Digital, Kingston | Samsung 980 Pro, WD Black SN770, Kingston NV2 |
| Mac proprietary NVMe (without adapter) | OWC, Transcend | OWC Aura Pro X2, Transcend JetDrive 820/855 |
For a detailed comparison of the performance of each SSD in real-life conditions on a Mac, see our test of the best SSDs for Mac.
Installing an SSD in a non-Retina MacBook Pro (2009-2012) is one of the easiest and most rewarding upgrades. It takes 15 to 20 minutes with a #00 Phillips screwdriver and a Torx T6 screwdriver.
Installing an SSD in an iMac is much more complex than in a MacBook. The display is attached to the chassis using adhesive strips (iMac 2012 and later) or magnets (iMac pre-2012), and access to the hard drive requires the entire panel to be removed.
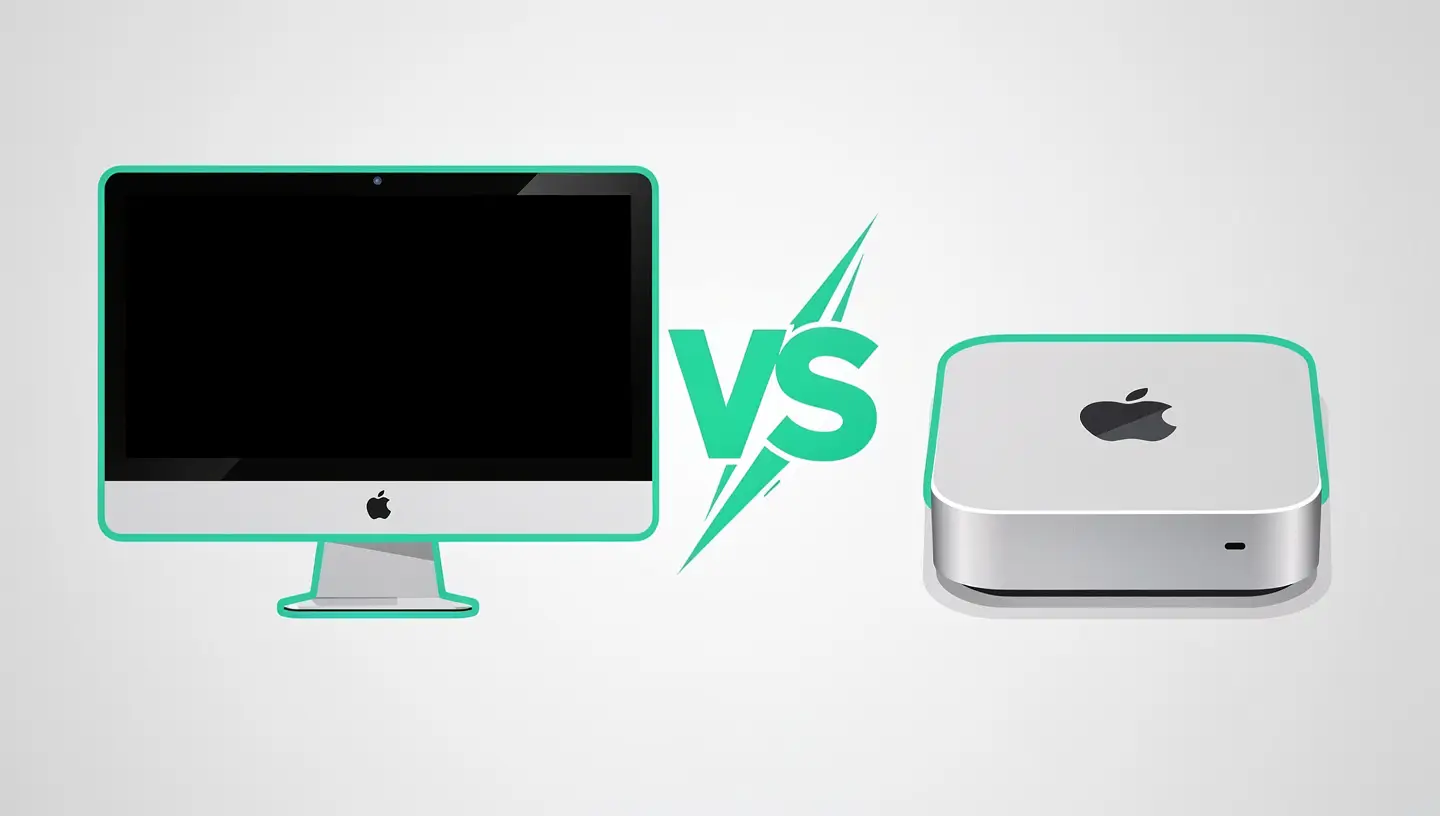
For this reason, we recommend that you leave the SSD installation on your iMac to an experienced technician. Our SSD installation service will take care of the whole operation, using the appropriate professional tools. To find out more about upgrading your iMac, see also our iMac vs Mac mini.

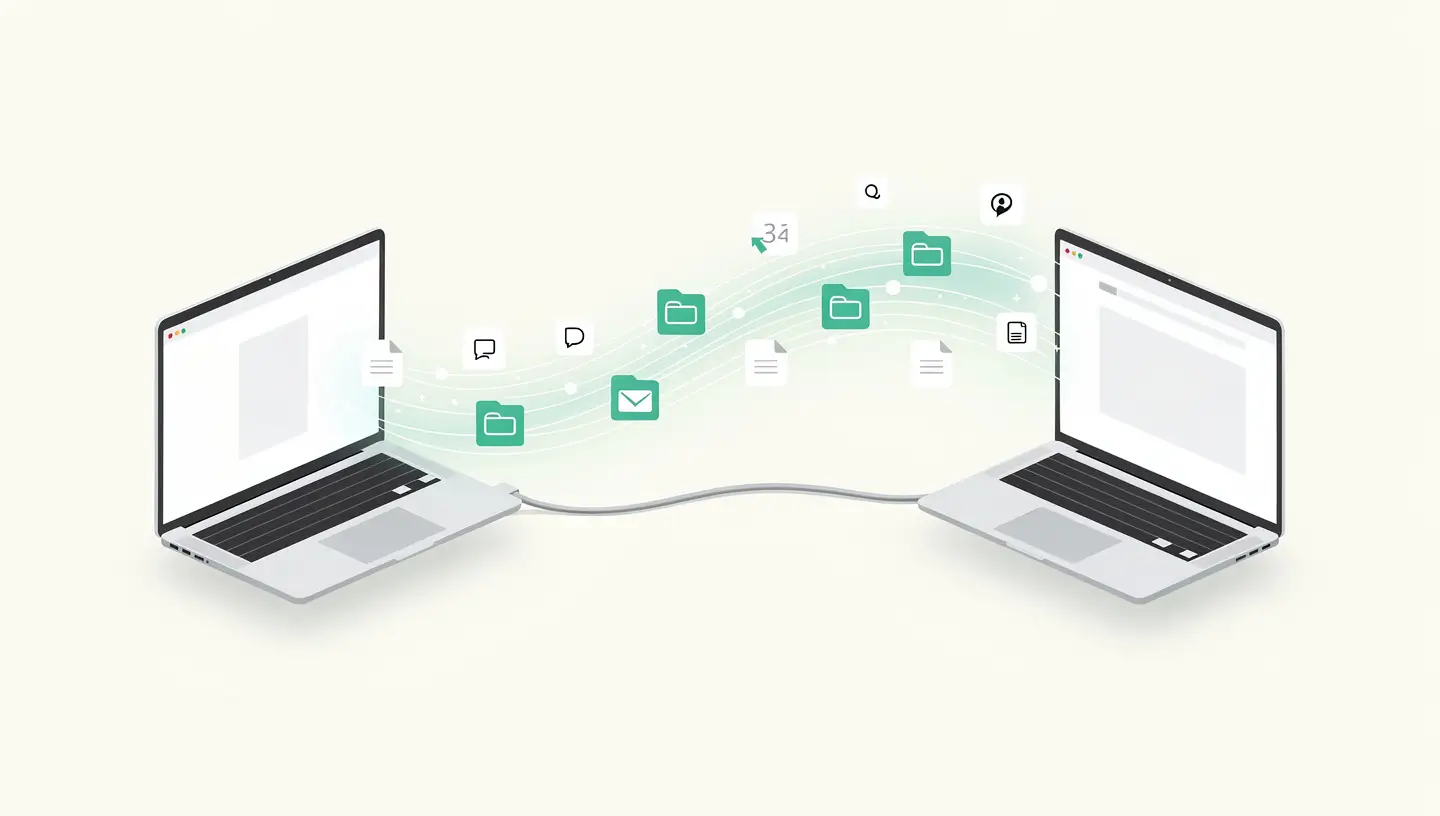
There are three ways of transferring your data from the old drive to the new SSD.
Before the physical installation, plug the new SSD into an external USB enclosure and use cloning software (Carbon Copy Cloner or SuperDuper!) to copy your entire current drive to the SSD. Then physically install the cloned SSD in the Mac - it will boot up immediately with your system intact, your applications and your files. This is the quickest and least risky method.
Install the blank SSD into the Mac, boot into Recovery mode (Cmd + R), install macOS, then restore from your Time Machine backup. This method is ideal if you want a clean system - it reinstalls macOS without the cache files and residue accumulated over the years.
Install macOS on the SSD, then use the’Migration assistant to transfer your data from the old drive (connected via USB) or from a Time Machine backup. This method allows you to select exactly which data to transfer.
For a detailed procedure for creating a macOS boot USB key (useful if Recovery mode doesn't work), see our guide create a bootable macOS USB key. Apple also offers resources on storage management and macOS installation.
No. All Apple Silicon Macs (M1, M2, M3, M4) have the SSD soldered to the motherboard. Storage is permanently fixed at the time of purchase. The only option for expanding space is to use an external USB-C or Thunderbolt SSD. See our article repairability of Apple Silicon Macs for more details.
The improvement is spectacular and immediately noticeable. Start-up time is reduced from 90-120 seconds to 10-20 seconds. Applications launch in 1-3 seconds instead of 10-30 seconds. Copying files is 3 to 10 times faster. This is the hardware improvement that has the greatest impact on user experience - much more so than the addition of RAM.
Click on the Apple menu → About this Mac → System Report → Storage (or SATA/SATA Express). The media type is indicated: «Solid State» for an SSD, «Rotational» for a mechanical hard drive. If your Mac has a Fusion Drive, it combines both technologies.
The Fusion Drive is a combination of a small SSD (24 or 128 GB) and a mechanical hard drive, managed by macOS as a single volume. It offers a compromise between speed and capacity, but is still much slower than a pure SSD for large files. Replacing a Fusion Drive with a pure 1 or 2 TB SSD is an excellent improvement.
If your Mac is still under Apple or AppleCare warranty, opening the case may effectively void the warranty. Apple tolerates RAM upgrades on models designed for this purpose (iMac 27″), but not hard drive replacement. If your Mac is out of warranty (which is the case for all Macs compatible with an SSD upgrade in practice), the question doesn't arise.
Place it in an external USB enclosure (€10-15) to use as an additional storage or backup drive. If the hard disk contained sensitive data and you don't want to keep it, erase it securely using the’Disk utility.
An SSD from a recognised brand (Samsung, Crucial, Western Digital) is designed to last a minimum of 5 to 10 years under normal use. Manufacturers guarantee an endurance of several hundred terabytes written (TBW). In practice, an SSD rarely breaks down before the rest of the Mac.
Yes, on non-Retina MacBook Pros (2009-2012), you can remove the SuperDrive optical drive and replace it with a caddy (adapter) that accepts a 2.5″ SATA SSD. This allows you to have both the SSD (system and applications) and the old hard drive (mass storage). Caddies cost around €10-15.
If you clone beforehand, the cloning software will take care of formatting. If you install the blank SSD and boot into Recovery mode, Disk Utility will allow you to format the SSD as APFS (recommended for Macs with SSDs) or as Mac OS Extended (journalled) for older Macs.
Of course you can. With over 15 years' experience since 2010, our team carries out SSD installations on all compatible models with complete migration of your data. SSD, labour, migration and internal cleaning are included in the price, with a 180-day guarantee. Consult our SSD installation service page for detailed rates.


Over 15 years of Apple expertise in Brussels. Free, no-obligation quote and 180-day guarantee on repairs.