
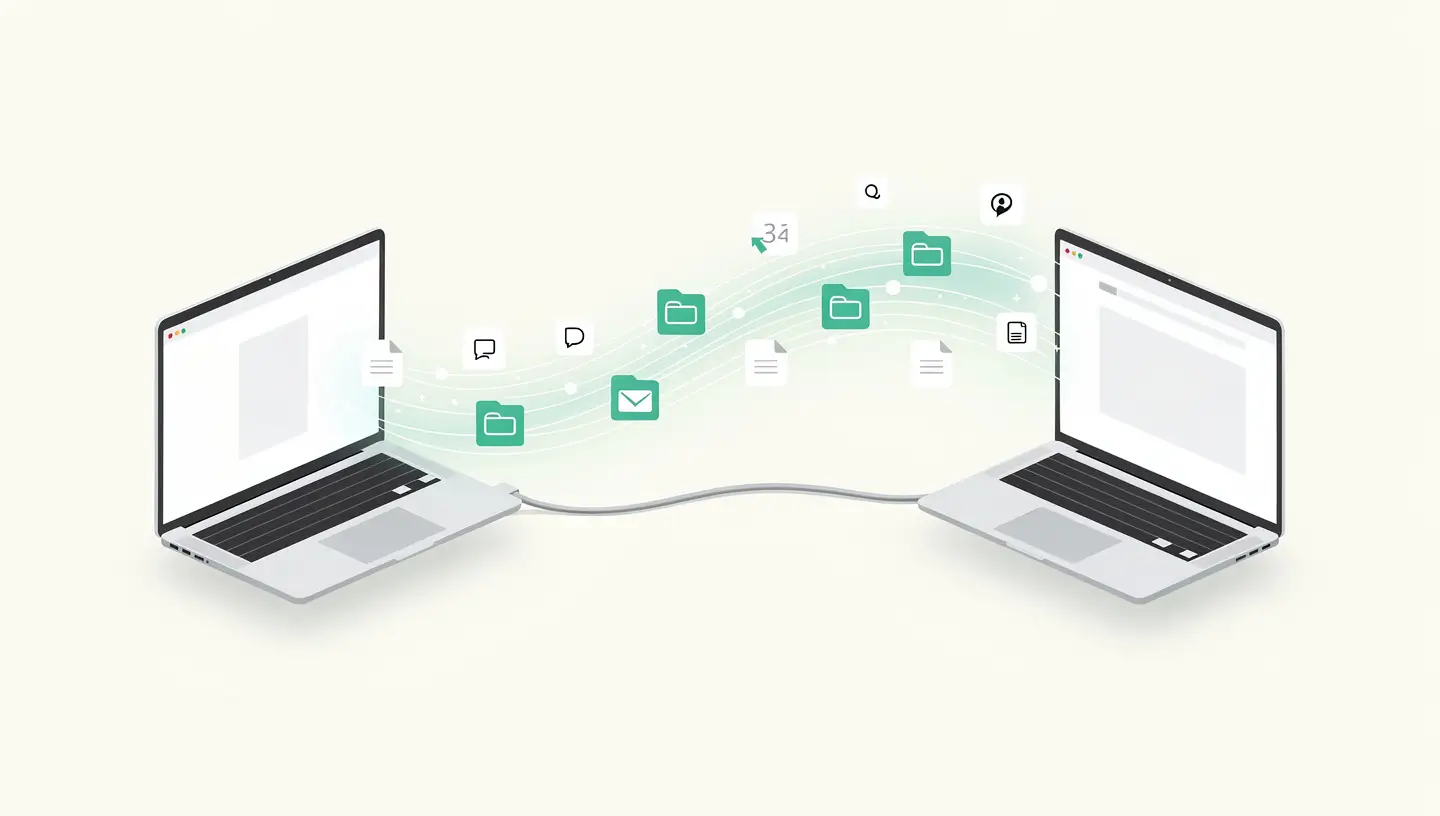
The Migration Assistant is an application built into macOS (and available for Windows) that automates the transfer of data between two computers. It launches automatically the first time you configure a new Mac. You can also launch it manually from Applications, Utilities, Migration Assistant.
What the Migration Assistant transfers: user accounts (with passwords), installed applications, personal documents and folders, system settings (Wi-Fi, printers, email accounts), keychain (saved passwords), photos, music, and even wallpapers and Dock icon placement. Full details are available at Apple page dedicated to the Migration Assistant.
| Method | Speed | What you need | Ideal for |
|---|---|---|---|
| Thunderbolt/USB-C cable | Very fast (20-40 GB/min) | A Thunderbolt or USB-C cable between the two Macs | Large transfers (100 GB+) |
| Wi-Fi direct | Slow (2-5 GB/min) | Both Macs on the same Wi-Fi network | Small transfers or no cable |
| Time Machine | Fast (depends on external drive) | Time Machine backup on external disk | Old Mac broken down or already sold |
| From a Windows PC | Moderate | Both computers on the same network | Switching from Windows to Mac |
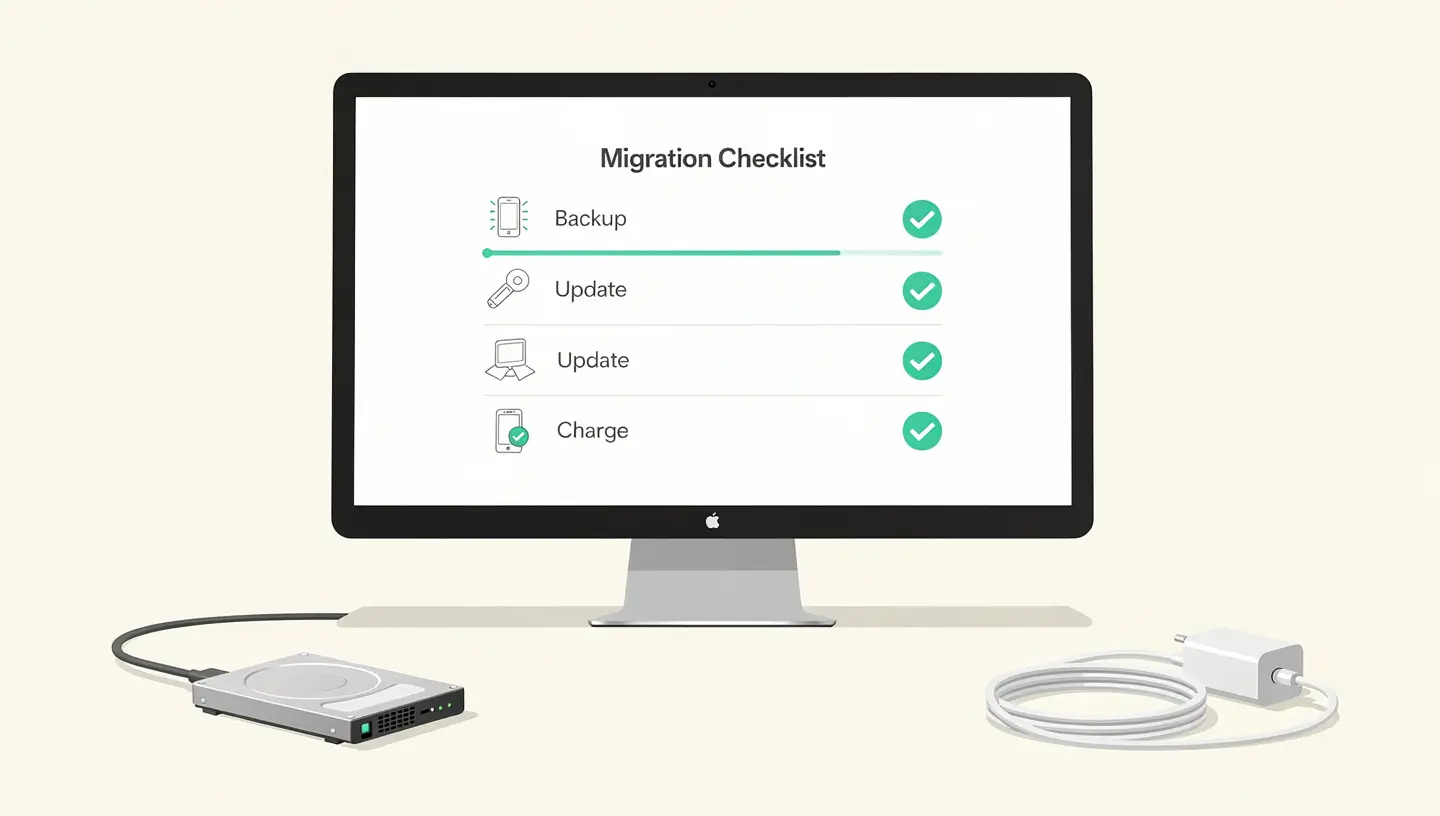
Update both Macs to the same version of macOS (or at least a compatible version). The Migration Assistant works best when both Macs are on the same version. Open System Settings, General, Software Update on both machines.
Connect both Macs to the mains. Migration can take from 30 minutes to several hours, depending on the volume of data. An interruption due to a flat battery can corrupt the transfer.
Disable the VPN and firewall on both Macs if you are migrating via Wi-Fi. These protections can block the connection between the two computers.
Check available space on the new Mac. The new Mac must have enough space to hold all the data from the old Mac. If the old Mac contains 300 GB of data, the new Mac must have at least 300 GB available.
On the new Mac : launch the Migration Wizard (it launches automatically the first time you configure it, or via Applications, Utilities, Migration Wizard). Choose «From a Mac, Time Machine backup or boot disk». Click on Continue.
On the old Mac : launch the Migration Assistant from Applications, Utilities. Choose «To another Mac». Click on Continue.
The two Macs will find each other automatically (by cable or Wi-Fi). Check that the security code displayed is identical on both screens, then confirm. On the new Mac, select the data to be transferred (accounts, applications, files, settings) and click Continue.
The transfer begins. Estimated time depends on volume and method: 30 minutes to 1 hour by cable for 200 GB, several hours by Wi-Fi for the same volume.
If your old Mac is broken, sold or unavailable, Time Machine backup takes over:
Connect the Time Machine disk to the new Mac. Launch the Migration Wizard and select «From a Time Machine Backup». Choose the backup disk, then select the most recent backup date. Check the items to be transferred and launch the migration.
This is also the method to use after a SSD upgrade Install macOS on the new SSD, then restore your data from Time Machine.
Apple offers a Migration assistant for Windows which transfers contacts, calendars, email accounts, browser bookmarks, photos, documents and personal folders from a PC to a Mac.
Download the Windows Migration Assistant from the Apple website and install it on the PC. Connect both computers to the same Wi-Fi network. Run the Wizard on both machines and follow the instructions. Windows applications are not transferred (they don't work on macOS), but all your personal files and settings are.
Once the migration is complete, check the following points: open a few applications to confirm that they are working, check that your documents are present in the Finder, test your email account and passwords (keychain), and check that your photos are accessible in the Photos application.
If applications require reactivation (licence, connection), this is normal: some software detects the change of machine and requires reconnection.
| Problem | Solution |
|---|---|
| The two Macs cannot be found | Check the same Wi-Fi network, disable VPN and firewall, restart both Macs |
| Very slow Wi-Fi migration | Switch to the Thunderbolt/USB-C cable, or move the two Macs closer to the router |
| Not enough space« error» | Deselect large non-essential items, clean up the new Mac |
| Applications that no longer work | Reinstall them from the App Store or the publisher's website, reconnect the licenses |
| Migration interrupted | Relaunch the Migration Assistant, it will pick up where it left off in most cases |
Via Thunderbolt/USB-C cable: 30 minutes to 2 hours for 100-500 GB. By Wi-Fi: 2 to 8 hours for the same volume. Speed depends on the volume of data and the method chosen.
Yes, installed Mac applications are transferred. Some may require licence reactivation on the new Mac. App Store applications can be re-downloaded free of charge if necessary.
Yes, as long as the new Mac has a version equal to or higher than the old one. Migrating from a Mac running macOS Sonoma to a Mac running macOS Ventura will not work. Update the new Mac before migrating.
No. The Migration Wizard copies data, not moves it. Your old Mac remains intact. This is useful if you want to check that everything is working before deleting the old Mac for resale.
Yes, the Migration Assistant lets you check/uncheck categories: user accounts, applications, files and folders, system settings. You can transfer only your documents and ignore applications, for example.
If you have a Time Machine backup, migrate from it. If you don't have a backup, our data recovery service can extract data from the old Mac and transfer it to the new one.
Yes, the Migration Assistant is available in Applications, Utilities at any time. You can set up the new Mac, use it, then run the migration later when you're ready.
Yes, the Migration Assistant manages the transition from Intel to Apple Silicon without any problems. Intel applications will run via Rosetta 2 on the new Apple Silicon Mac. Apple recommends updating applications to their native Apple Silicon versions after migration.
No, Wi-Fi works too. But the cable is 5 to 10 times faster. A standard USB-C cable is all you need if both Macs have USB-C ports. The (more expensive) Thunderbolt cable offers maximum speed but is not essential.
If you sell or donate your old Mac, yes. See our Mac reset guide to erase the old Mac cleanly. First check that everything is working on the new Mac before erasing.


Over 15 years of Apple expertise in Brussels. Free, no-obligation quote and 180-day guarantee on repairs.