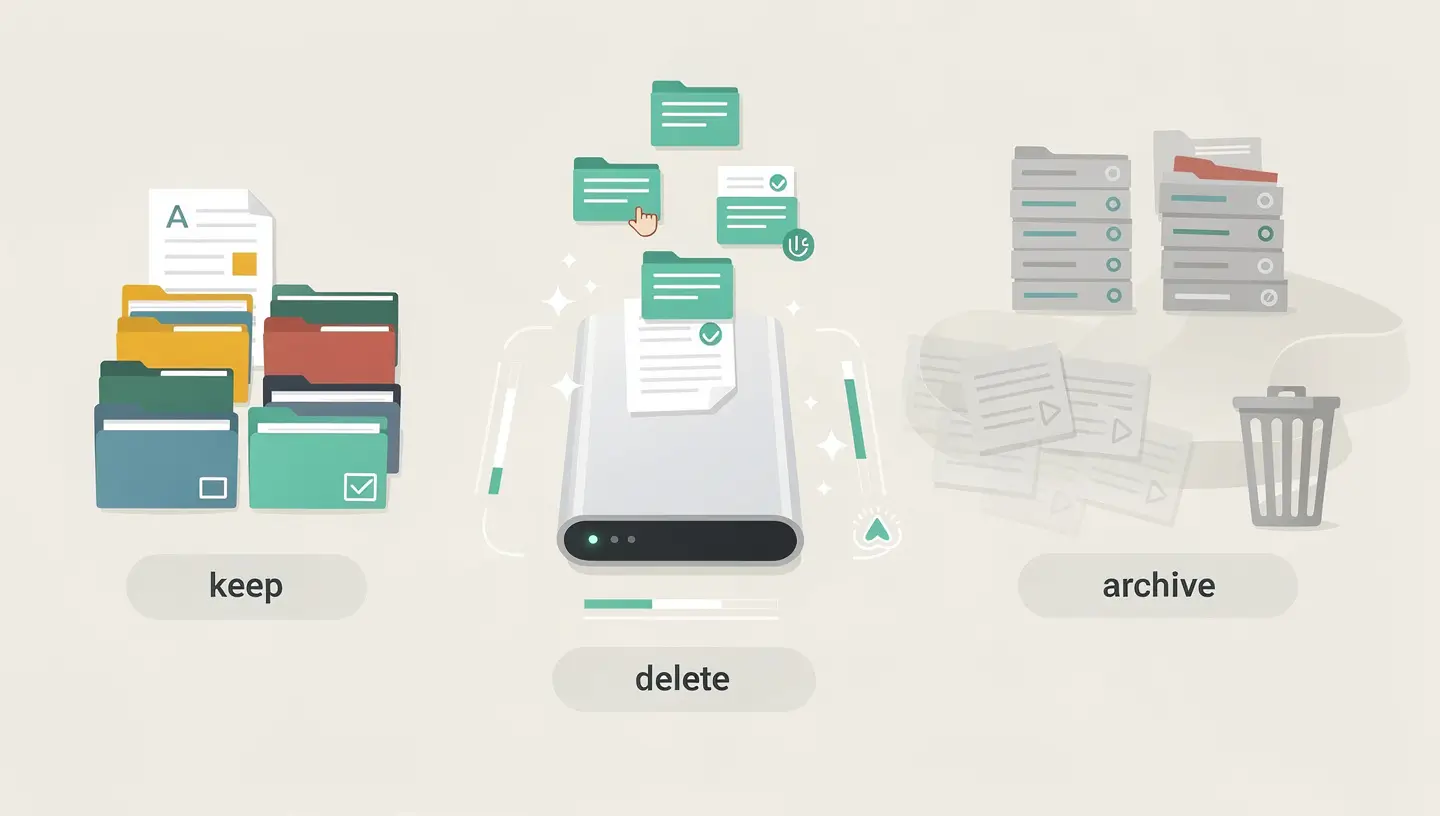


Before moving on to the solutions, it's useful to understand what happens when you delete a file on your Mac. When you move a file to the Recycle Bin (right-click, Move to Recycle Bin, or Cmd + Delete), the file is not deleted. It is simply moved to a hidden folder called .Trash located at the root of your user folder.
The file remains in the recycle bin until you empty it manually or macOS empties it automatically after 30 days (if the option «Delete items from the recycle bin after 30 days» is enabled in the Finder preferences).
When you empty the recycle bin, macOS doesn't physically delete the data from the disk. It simply marks the space as «available». The data remains on the disk until new data is written over it. This is why recovery is possible, but also why it becomes increasingly difficult over time.
| Situation | Chances of recovery | Recommended method |
|---|---|---|
| File still in the recycle bin | 100 % | Method 2: Restore from the Recycle Bin |
| Trash emptied a few minutes ago | 90 to 95 % | Method 6: Recovery software |
| Bin emptied a few days ago | 50 to 80 % | Method 3 (Time Machine) or Method 6 |
| Bin emptied several weeks ago | 20 to 50 % | Method 6 or Method 8 (pro) |
| Disk reformatted or faulty | Variable | Method 8: Professional recovery |
If you have just deleted the file, the quickest method is to use the Undo command. Immediately press Cmd + Z in the Finder. The file reappears in its original location, as if nothing had happened.
This command only works if deleting is the last action performed in the Finder. If you have moved, renamed or created another file in the meantime, Cmd + Z will undo that action and not the deletion. You can also click on the Edition and choose Undo placement in the Trash.
As long as the recycle bin has not been emptied, your files are intact and can be recovered with just a few clicks:
Click on the recycle bin icon in the Dock to open it. Search for your file: you can use the search bar at the top right or sort by date deleted by clicking on «Date added». Once you've found the file, right-click on it and select Reset. The file is automatically returned to the folder from which it was deleted.
If you want to put it somewhere else, simply drag and drop it from the recycle bin window to the folder of your choice.
If your recycle bin contains hundreds of files, use the Finder's built-in search field. You can also change the presentation to a list (menu View, then List) and sort by name, size or date to quickly find the file you're looking for.
Time Machine is the built-in backup solution for macOS. If you set it up with an external drive before deleting the file, you can go back in time and recover the version of the file before it was deleted.
Connect the external disk on which Time Machine performs its backups. Open the folder where the file was located before it was deleted. Click on the Time Machine icon in the menu bar and select Browse Time Machine backups (or Entering Time Machine on earlier versions).
Use the arrows or the timeline on the right to go back to a date prior to deletion. When you see the file, select it and click on Restore. The file is copied to its original location.

If you haven't set up Time Machine yet, check out our forthcoming guide to configuring Time Machine to protect your data in the future.
If the deleted file was in a folder synchronised with iCloud Drive (Desktop, Documents or any iCloud folder), Apple will keep the deleted files on its servers for 30 days.
Open a browser and go to icloud.com. Log in with your Apple ID. Click on Drive, then at the bottom of the page, click on Recently deleted. Select the file you wish to recover and click on Retrieve.
On icloud.com, click on your name in the top right-hand corner, then on Account settings. Scroll down to the Advanced and click on Restore files. Here you'll find all the files deleted in the last 30 days, including those emptied from the recycle bin.
Sometimes a file is not actually deleted, but simply moved or renamed by mistake. The Terminal allows you to launch an in-depth search of the entire disk, including hidden folders.
Open Terminal (Applications, Utilities, Terminal) and type the following command, replacing «filename» with the name or part of the name of your file:
find / -name "*filename*" 2>/dev/null
This command scans the entire disk and displays all files whose name contains your search term. The 2>/dev/null hides access error messages to keep the display readable.
If you know the file extension, you can refine the search:
find / -name "*.pdf" -newer /tmp/date_marker 2>/dev/null
For users less at ease with the Terminal, Spotlight (Cmd + Space) performs a similar but more limited search. Type in the name of the file and check all the results, including in categories you don't normally look at.
When the recycle bin has been emptied and Time Machine has no backup, recovery software is your best hope. These tools scan the disk for file fragments whose space has been marked as available but not yet rewritten.
| Software | Prices | Highlights | Limits |
|---|---|---|---|
| Disk Drill | Free (500 MB) / €89 Pro | Intuitive interface, preview, APFS and HFS+ compatible | Limited recovery in the free version |
| PhotoRec | Free (open source) | Powerful, supports hundreds of formats, even works on damaged discs | Command line interface, no preview |
| EaseUS Data Recovery Wizard | Free (2 GB) / €90 Pro | Deep scan, good format compatibility | Annual licence, frequent upsells |
| TestDisk | Free (open source) | Recovery of entire partitions, repair of partition tables | Technical interface, for advanced users only |
Install the recovery software on an external disk or USB key, not on the disk where the deleted file was located. Each write to this disk risks overwriting the data you are looking for. Also save the recovered files to a different external drive.
First run a quick scan, which analyses the table of recently deleted files. If the file does not appear, run a deep scan, which analyses the disk sector by sector. This process can take several hours, depending on the size of the disk.
If your Mac uses the APFS file system (all Macs since macOS High Sierra), macOS automatically creates snapshots of the system at certain times, particularly before updates. These snapshots may contain files that you have since deleted.
To check the available snapshots, open Terminal and type :
tmutil listlocalsnapshots /
If snapshots appear, you can mount them to explore their contents. This method is more technical and snapshots are deleted automatically when the disk runs out of space, but it can save the day when other options have failed.
If you find this a complex process, we can explore snapshots for you as part of our data recovery service.
When software methods don't work - damaged disk, overwritten critical file, hardware failure - professional recovery remains the last option. In the workshop, we have tools and techniques that are not available to the general public.
Situations requiring professional intervention :
| Situation | What you can do | Success rate |
|---|---|---|
| Mechanical hard drive failure | Clean room recovery, replacement of read heads | 60 to 90 % |
| SSD with partially overwritten data | Deep scan with professional tools, file reconstruction | 30 to 70 % |
| Dropped Mac or liquid damage | Extracting the SSD and reading it on another device | 50 to 85 % |
| Recent accidental deletion (recycle bin emptied) | Immediate scan with professional software on read-only disk | 70 to 95 % |
At Réparation MAC, we offer a free diagnosis to assess your chances of recovery before committing yourself. Our data recovery service covers all types of Mac and storage media, with a 180-day guarantee.
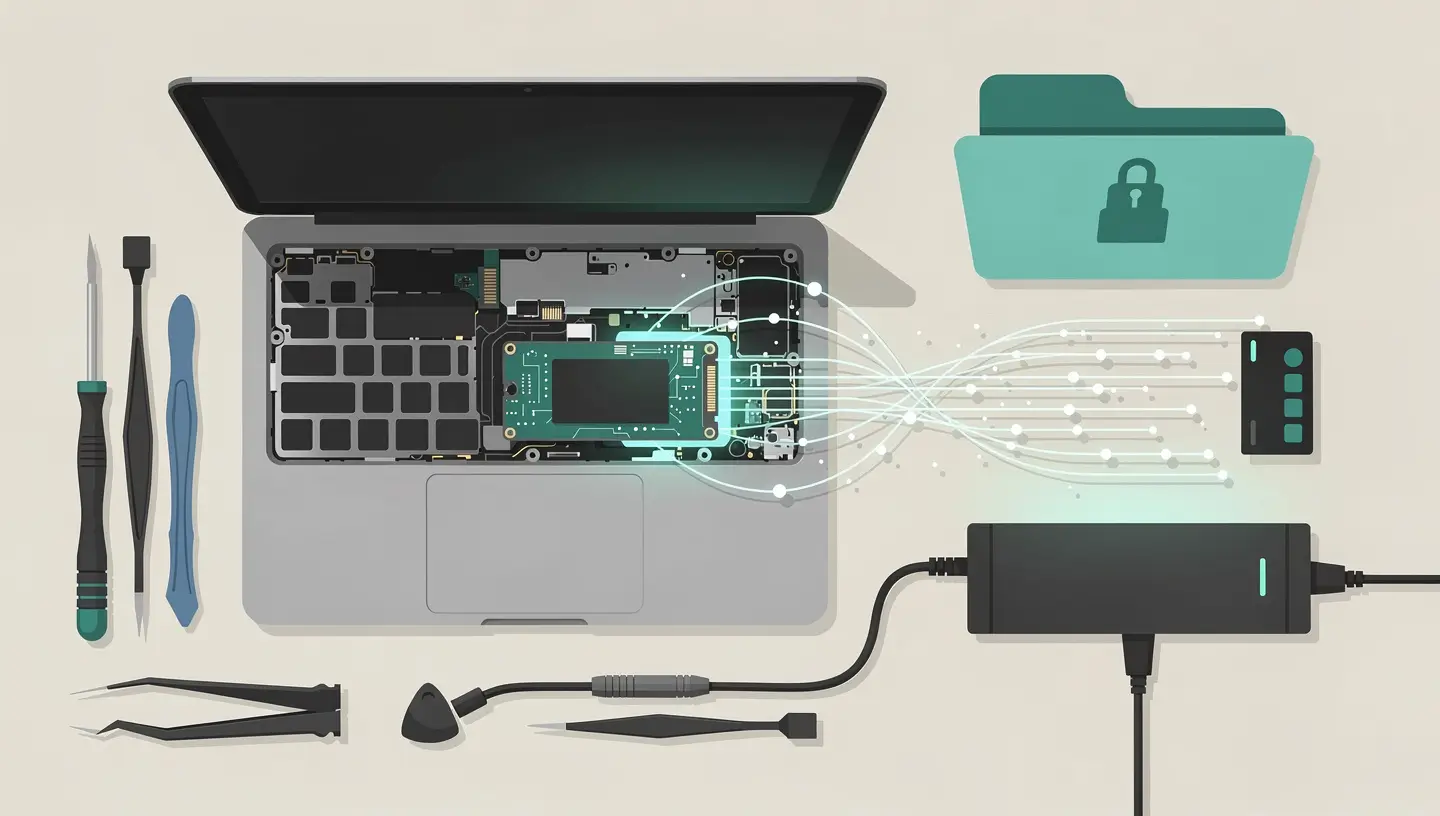
The best recovery is the one you never need. Here are the habits that protect your data:
| Strategy | Protection offered | Cost |
|---|---|---|
| Time Machine on external disk | Full automatic backup every hour, file versioning | Price of an external drive (€50-100) |
| iCloud Drive (50GB, 200GB or 2TB) | Cloud synchronisation, 30-day recovery, multi-device access | 0.99 to €9.99/month |
| Manual external backup disk | Independent physical copy, protection against ransomware | Record price |
| Deactivate «Empty recycle bin after 30 days».» | Keeps deleted files in the recycle bin indefinitely | Free |
The 3-2-1 backup rule is a recognised standard in the professional world: 3 copies of your data, on 2 different types of media, including 1 off-site (cloud or disk at a relative's). With Time Machine and iCloud activated, you're already on two media. Add an occasional manual copy on an external drive and your data is safe.
For complete protection of your Mac, discover our guide to cleaning and organising your Mac.
Yes, this is often possible. When you empty the recycle bin, macOS marks the space as available but doesn't delete the data immediately. Recovery software such as Disk Drill or PhotoRec can recover the file as long as the data has not been overwritten by new writes.
There is no fixed deadline. On an infrequently used mechanical hard disk, data can remain recoverable for weeks. On an SSD with TRIM activated (most recent Macs), data can be erased in a few minutes to a few hours. Act as quickly as possible and avoid writing to the disk.
Recovery is more difficult on Apple Silicon Macs because the SSD uses hardware encryption and the TRIM command proactively erases freed blocks. Time Machine and iCloud remain the best protection on these models. In the event of a critical loss, a professional can attempt recovery using specialist tools.
If you use Apple's Photos application, deleted photos go into the «Recently Deleted» album and remain there for 30 days. Open Photos, click on «Recently Deleted» in the sidebar, select the photo and click on «Recover». If the time limit has passed, use Time Machine or recovery software.
No. The shortcut Cmd + Option + Delete deletes a file without going through the Recycle Bin, but the mechanism is the same: the space is marked as available. Recovery software can find these files in the same way as those emptied from the recycle bin.
The price depends on the complexity of the job: type of fault, volume of data, Mac model. At MAC Repair, we offer a free diagnosis to assess the chances of recovery and provide you with a quote before any work is carried out. Consult our rates for an estimate.
Time Machine is an excellent first layer of protection, but it doesn't protect against everything: a fire, theft or simultaneous failure of the Mac and the external drive. The ideal strategy combines Time Machine (local backup) with iCloud or another cloud service (remote backup) according to the 3-2-1 rule.
Yes, the same methods apply. Connect the external drive to your Mac and use recovery software to scan it. If the drive is no longer detected by the Mac, professional intervention may be required to extract the data.
Apple has removed this function since macOS El Capitan because it was unreliable on SSDs. On recent Macs with SSDs and TRIMs, secure erasing is handled automatically in hardware. On older Macs with a hard disk, if a secure erase has been performed, recovery is virtually impossible.
Yes, in most cases. If the Mac won't boot but the disk is intact, we can extract the SSD or boot the Mac into Target Disk Mode to access the data. If the disk itself is damaged, advanced recovery tools are required. See our guide to Macs that no longer light up.


Over 15 years of Apple expertise in Brussels. Free, no-obligation quote and 180-day guarantee on repairs.