
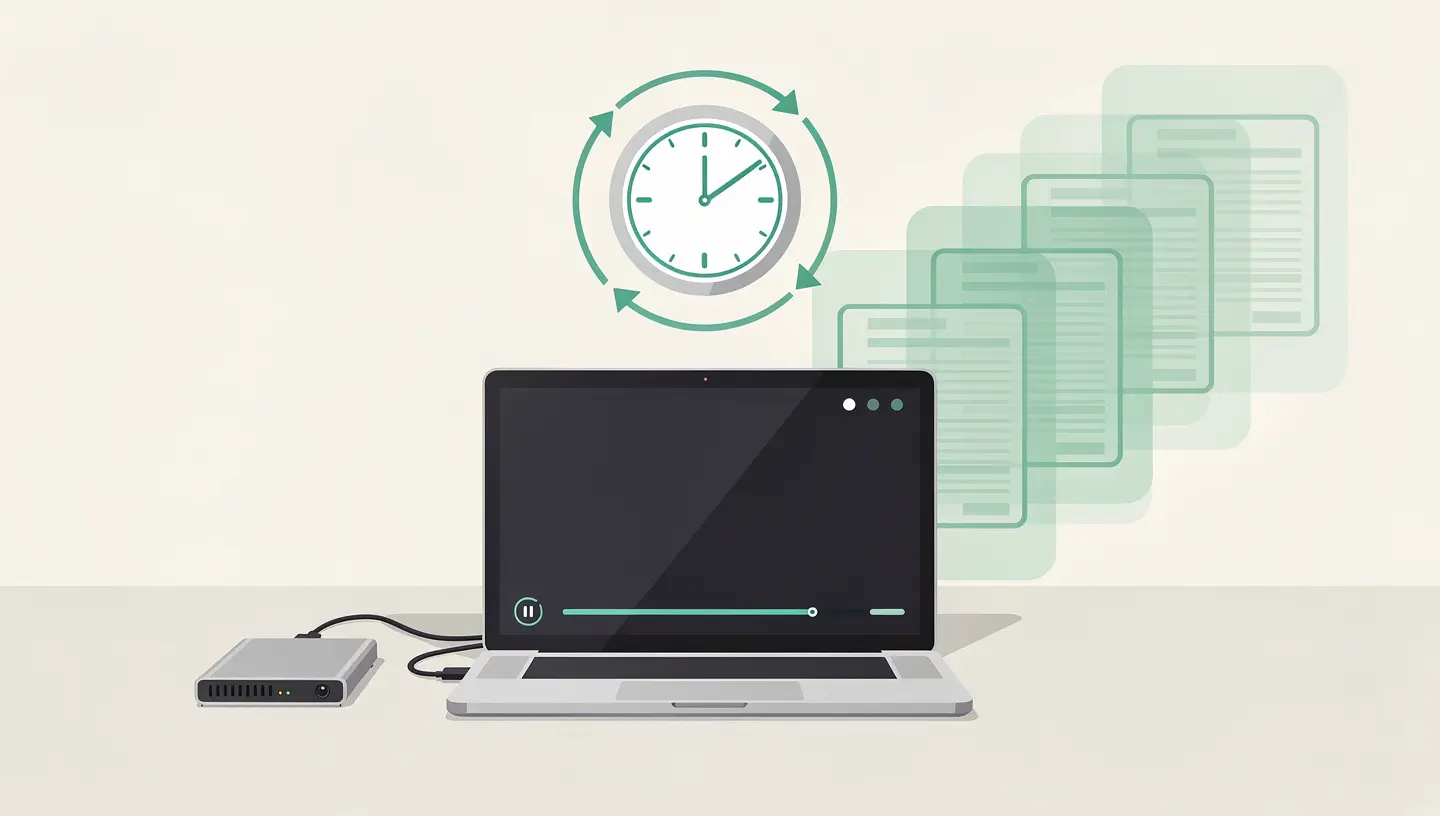
Losing data is one of the most stressful events for any computer user. Whether it's a file deleted by mistake, a faulty SSD, liquid damage or ransomware, there are many causes of data loss. Time Machine eliminates this risk by creating automatic backups in the background, without any intervention on your part.
According to statistics from the World Backup Day, In fact, approximately 30 % of users have never backed up their files. At MAC Repair, we find that the majority of customers who come to us for data recovery had no active solution. Time Machine remains the simplest tool for protecting your memories and your work at the click of a button.
| Disc type | Benefits | Limits | Recommended capacity |
|---|---|---|---|
| External USB hard drive | Affordable, large capacities (2-5TB) | Slower, fragile (mechanical) | 2x the size of your internal SSD |
| USB-C external SSD | Fast, compact, shock-resistant | More expensive at the Go | 2x the size of your internal SSD |
| NAS (network server) | Wireless backup, shareable, multi-Mac access | More complex configuration, initial investment | Varies according to the number of Macs |
The rule of thumb: get a drive at least twice the size of your Mac's storage. If your Mac has a 512GB SSD, a 1TB Time Machine disk is the comfortable minimum. The larger the disk, the longer Time Machine will keep a history.
1. Connect your external disk to the Mac. macOS will automatically suggest that you use it for Time Machine. If so, click on «Use as backup disk» and you're done.
2. If the dialogue box does not appear, open System settings, then General, then Time Machine. Click on Add a backup disk and select your external drive.
3. macOS lets you encrypt your backup. We recommend that you activate it: it protects your data if the disk is stolen. Set a password and keep it in a safe place.
4. Time Machine formats the disk (if necessary) and launches the first backup. This first full backup may take several hours, depending on the volume of data. Subsequent backups are incremental and take just a few minutes.
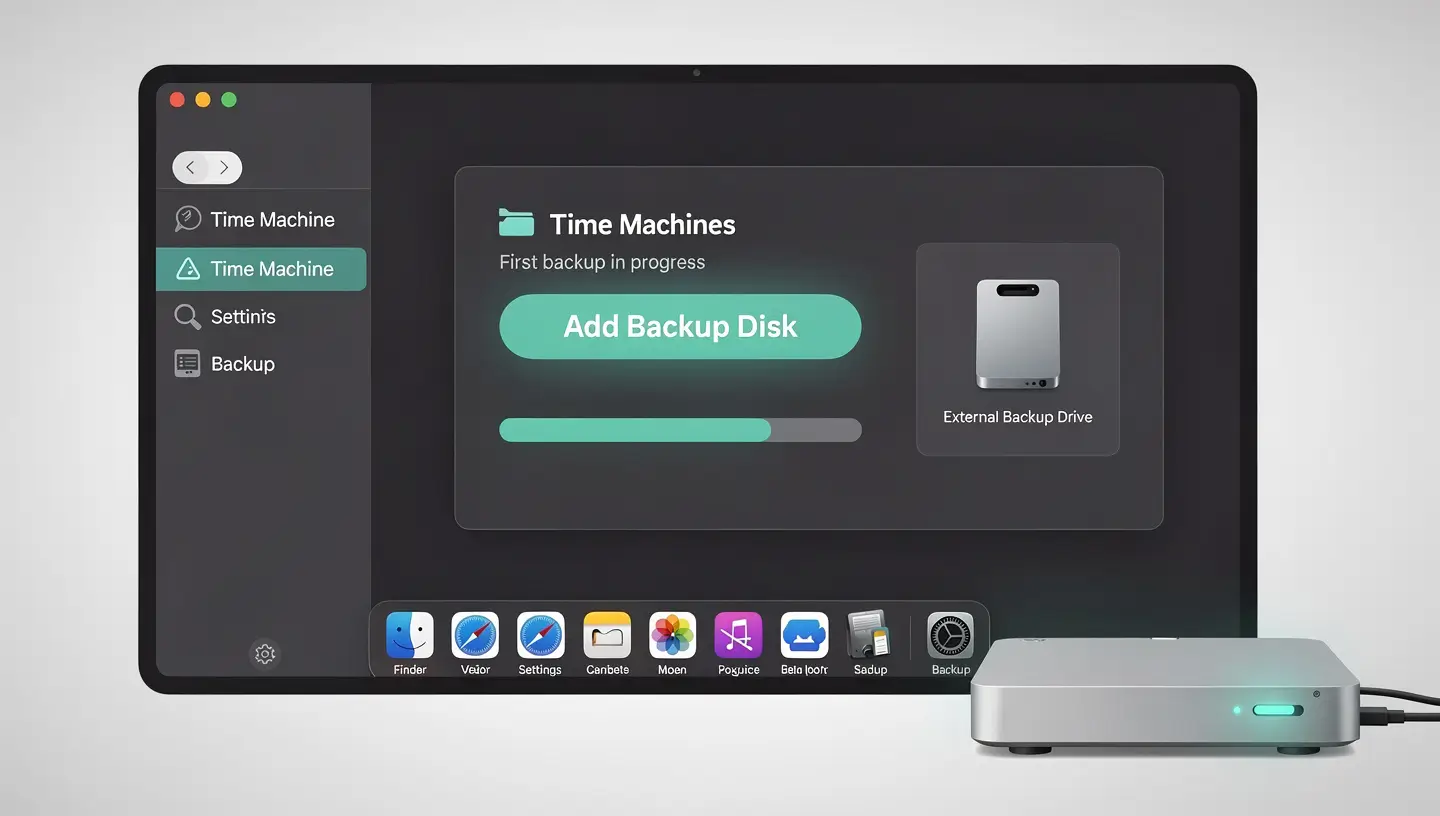
Once configured, Time Machine automatically backs up every hour when the disk is plugged in. It stores backups intelligently:
| Period | Retained backup frequency |
|---|---|
| Last 24 hours | One backup per hour |
| Last month | One backup per day |
| Previous months | One backup per week |
When the disk is full, Time Machine automatically deletes the oldest backups to make room. The larger the disk, the longer the history.
Open the folder where the file was located. Click on the Time Machine icon in the menu bar and select «Browse Time Machine backups». Navigate through time using the arrows or the timeline. When you find the file, select it and click «Restore».
To restore an earlier version of a file (not deleted, but modified), the procedure is identical: go back in time to the desired version.
To find out more about recovering deleted files, see our complete file recovery guide.
To restore your entire Mac (after a system crash, SSD replacement or reinstallation): start up in recovery mode (power button held down on Apple Silicon, Cmd + R on Intel), select «Restore from Time Machine» and choose your backup disk. The entire Mac is restored to the exact state of the chosen backup.
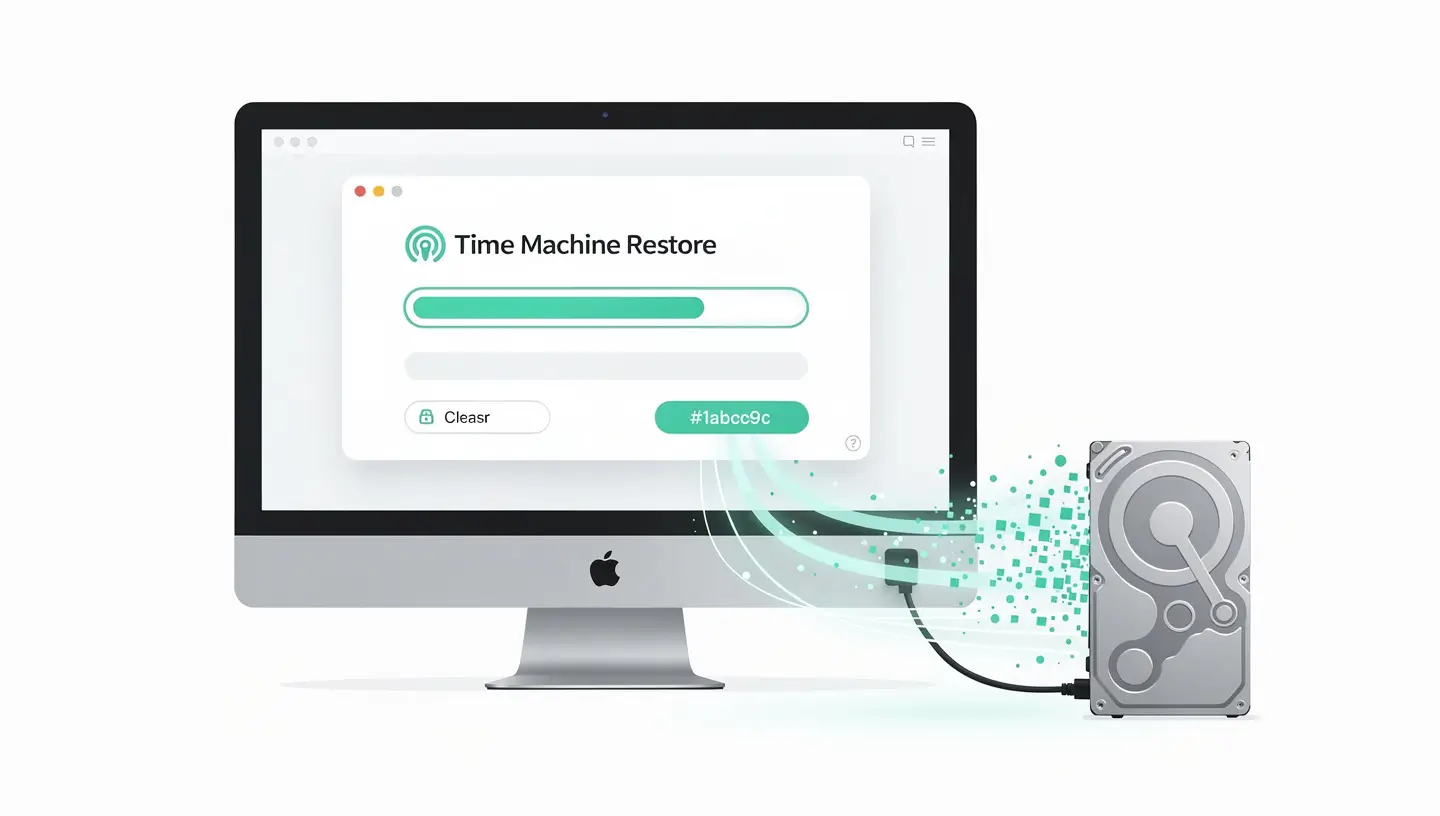
If your Time Machine disk is small or if you have large files that you don't want to back up (virtual machine images, software caches), you can exclude them. Go to System Settings, General, Time Machine, Options. Add the folders you want to exclude using the «+» button.
| Problem | Solution |
|---|---|
| «Recurring »Backup Failed | Check the disk space. Run Disk Utility to check the TM disk. |
| Extremely slow backup | Check that the drive is USB 3.0+, not USB 2.0. Exclude large temporary files |
| Time Machine disk not recognised | Try another USB port or another cable. If the drive is making noises, it may be faulty. |
| «The backup disk is almost full» | Time Machine handles this automatically (deletes old backups). If persistent, move to a larger disk |
Very little. Incremental backups (after the first one) only take a few minutes and run in the background with low priority. You will hardly notice any difference in performance.
Yes, Time Machine only takes up as much disk space as you need. You can store other files on the same disk. However, we recommend a dedicated disk to avoid any confusion and to guarantee space for backups.
Yes, Time Machine backs up everything: system, applications, documents, settings, accounts. When you do a full restore, you'll find your Mac exactly as it was when you backed it up.
Take at least twice the size of your internal SSD. For a Mac with 512 GB: a drive of at least 1 TB. For a Mac with 1TB: a 2TB disk. The larger the disk, the longer the version history.
Partially. If the Time Machine disk is connected during the attack, it may also be encrypted by the ransomware. This is why we recommend disconnecting the TM drive when it is not being backed up, and adding a cloud backup (iCloud) as additional protection.
Yes, Time Machine supports compatible NAS (Synology, QNAP, etc.) and drives shared via the SMB protocol. This is ideal for backing up several Macs in the same home or office on a single network device.
We highly recommend it. Encryption protects your data in the event of disk theft. The first encrypted backup takes longer, but subsequent backups have the same speed as an unencrypted backup.
Since macOS Big Sur, Time Machine uses APFS for SSD backups. For mechanical hard disks, Time Machine always uses HFS+ (Mac OS Extended Logging). The format is chosen automatically by macOS.
If the backup disk fails, your data on the Mac is not affected, you simply lose the backup history. Replace the disk and restart Time Machine to create a new full backup.
Time Machine is excellent protection, but the 3-2-1 strategy recommends adding a cloud backup (iCloud, Backblaze) to protect against theft, fire or simultaneous failure of the Mac and the backup disk.


Over 15 years of Apple expertise in Brussels. Free, no-obligation quote and 180-day guarantee on repairs.