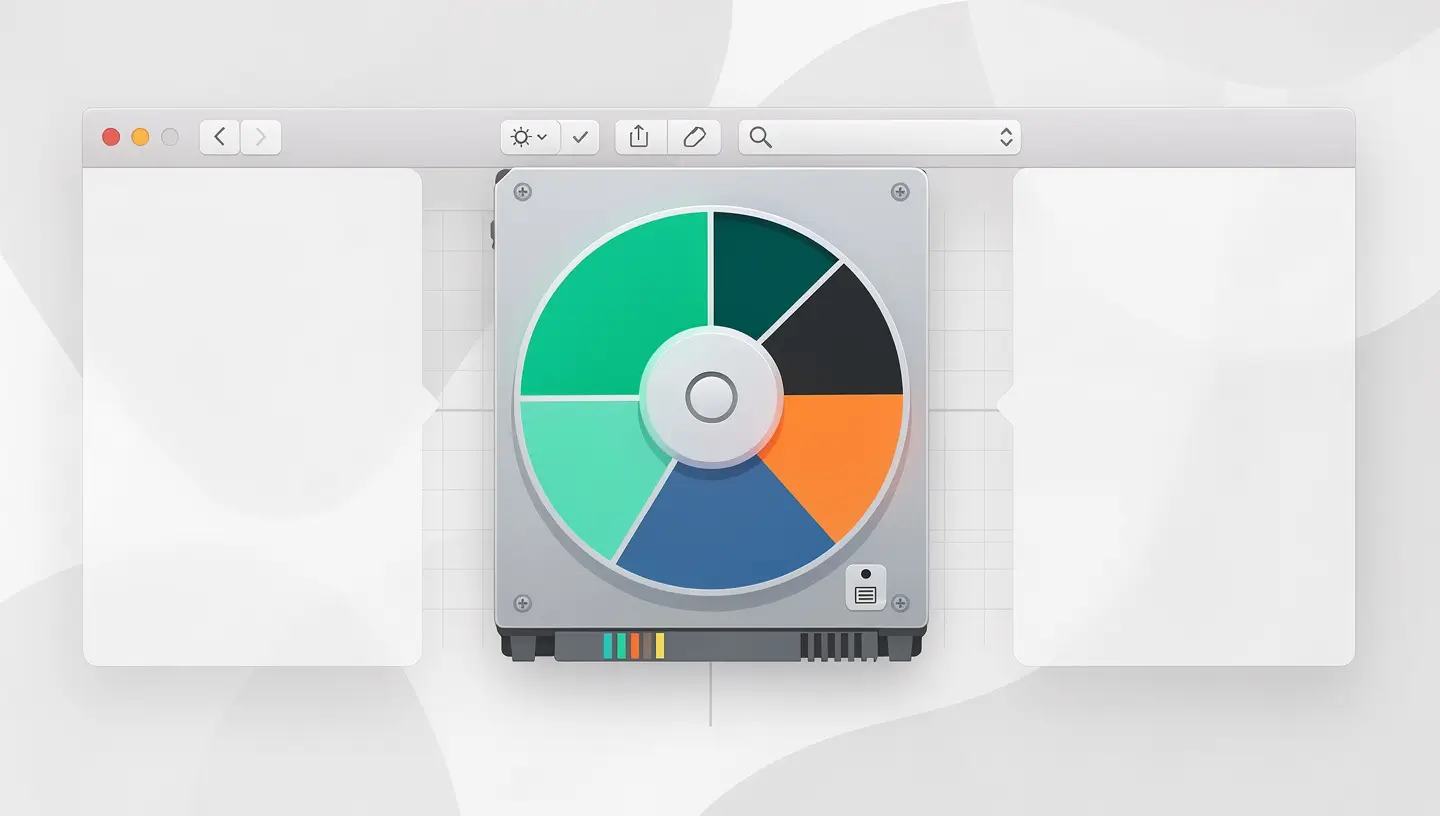

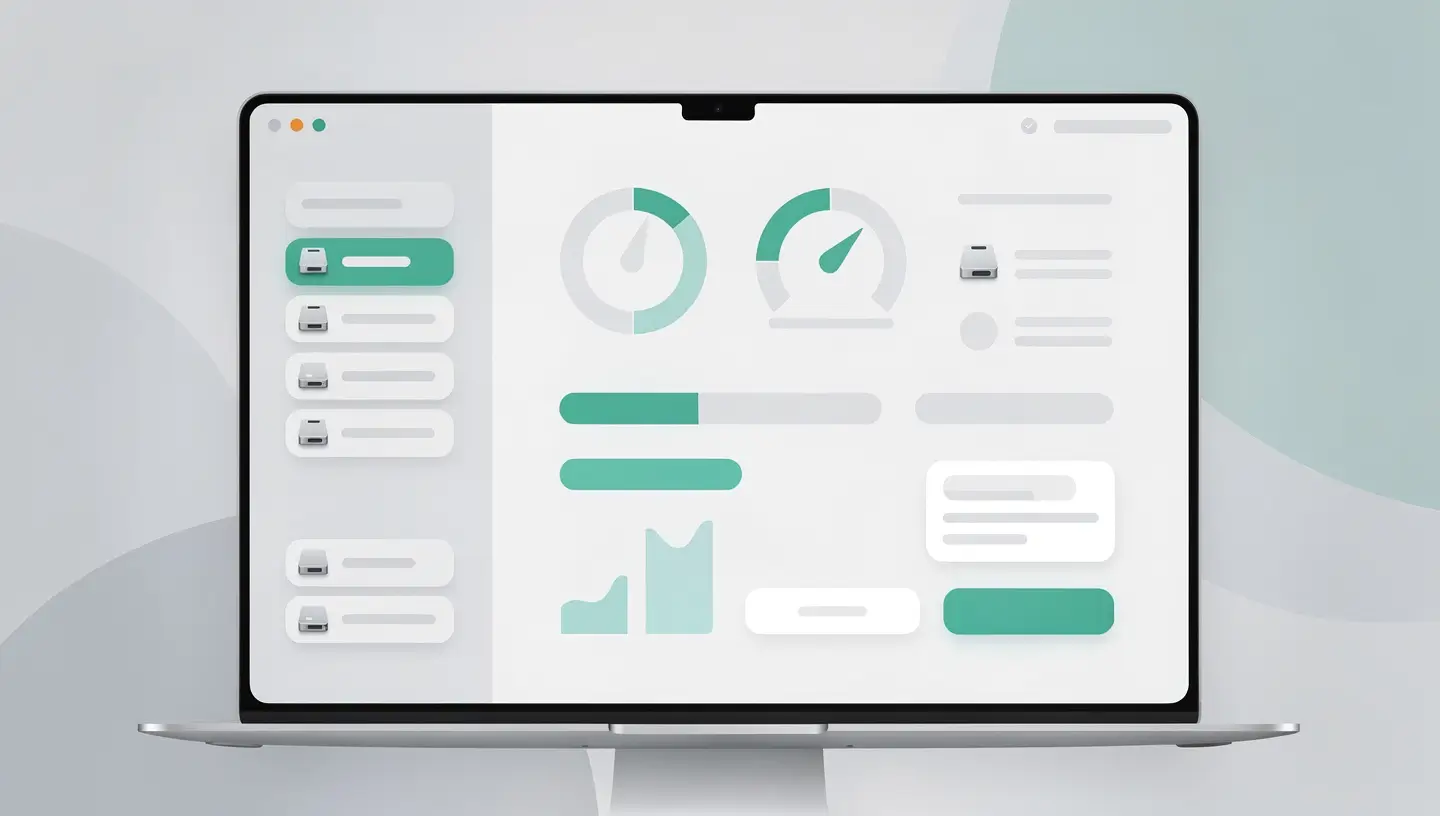
From macOS: open the Finder, go to Applications, Utilities, then Disk Utility. You can also find it via Spotlight (Cmd + Space and type «Disk Utility»).
From recovery mode (when macOS won't boot): boot into recovery mode (power button held down on Apple Silicon, Cmd + R on Intel) and select Disk Utility from the menu. This is the method to use when you need to repair the boot disk or prepare a disk for a clean installation of macOS.
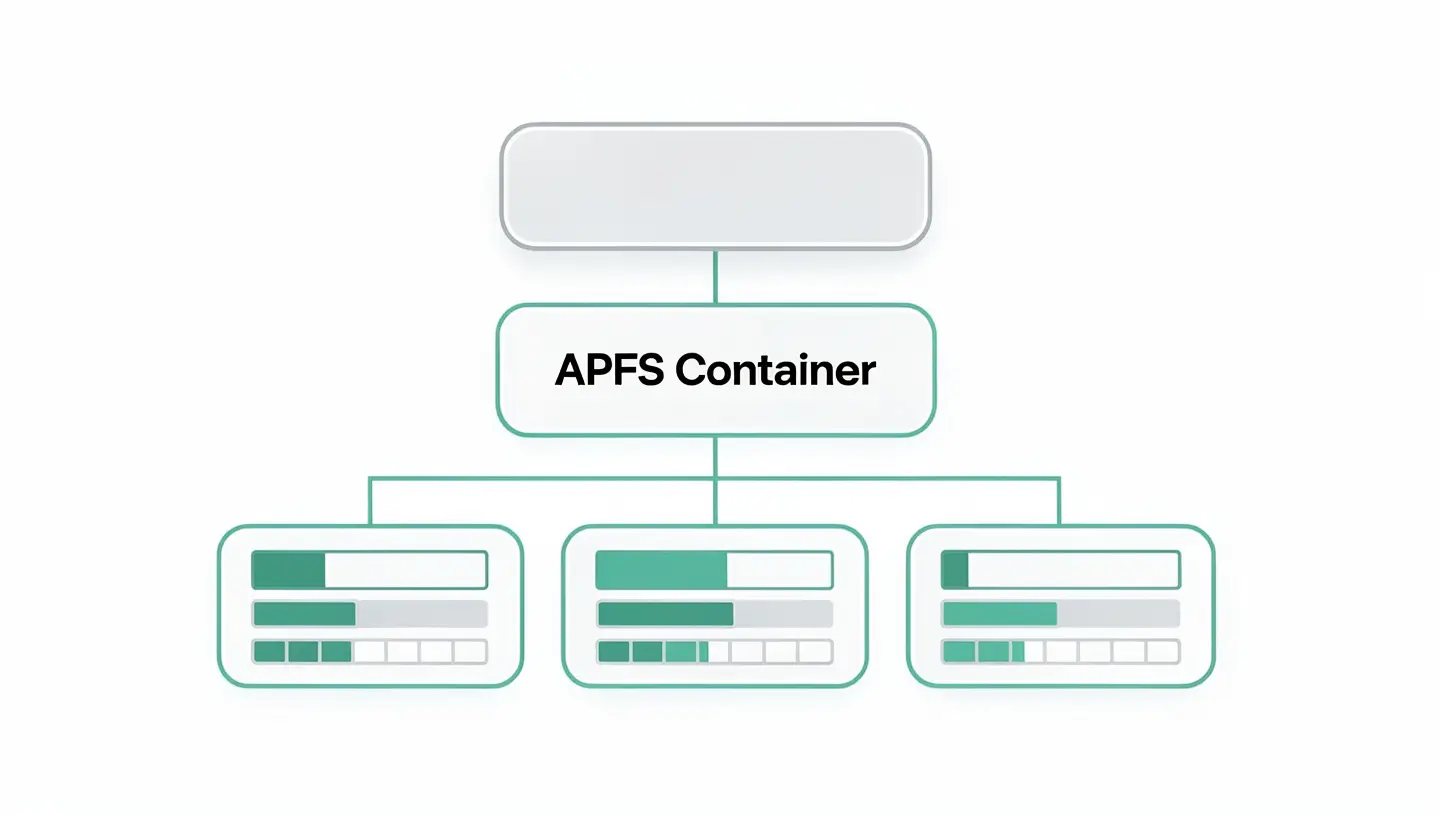
The Disk Utility displays two levels in the sidebar: physical devices (disks) and logical volumes (partitions). To see both, click on Presentation, then Show all devices. This option is important because some operations (such as full formatting) are only available at physical device level.
| Element | What it is | When to select it |
|---|---|---|
| Physical device | The hard disk or SSD (e.g. «APPLE SSD AP0512Q») | To format completely, change the partition scheme |
| APFS container | The APFS logical container, which groups volumes | To see the space shared between volumes |
| Volume | The accessible partition (e.g. «Macintosh HD») | To check, repair or delete a volume |
The «S.O.S.» (or «First Aid») function checks the integrity of the file system and repairs any errors detected. (or "First Aid") function checks the integrity of the file system and repairs any errors it detects. This is the first response when your Mac behaves strangely: corrupted files, unexplained slowness, start-up errors.
Select the volume to be checked in the sidebar, then click on S.O.S. at the top of the window. Click on «Run». The utility analyses the disk structure and corrects any errors found.
Formatting erases all the data on a disk and prepares it for a specific use. Select the physical device (not the volume) in the sidebar, click on Delete, Choose a name, format and layout, then confirm.
| Format | Recommended use | Mac compatible | Windows compatible |
|---|---|---|---|
| APFS | Mac internal SSD, Mac external drive only | macOS High Sierra (10.13) and above | No (read-only with third-party tools) |
| Encrypted APFS | Mac internal SSD with FileVault, sensitive disks | macOS High Sierra and above | No |
| Mac OS extended (HFS+) | Mechanical hard drives, Time Machine on HDD | All versions | No (read-only with third-party tools) |
| exFAT | USB keys and Mac/Windows shared drives | Yes | Yes |
| MS-DOS (FAT32) | USB keys for older devices, files under 4 GB | Yes | Yes |
In a nutshell: APFS for everything Mac only (SSDs), HFS+ for Time Machine mechanical hard drives, exFAT for drives shared between Mac and PC.
Partitioning divides a disk into several independent volumes. With APFS, macOS favours APFS volumes rather than traditional partitions: the volumes share the free space of the container dynamically, which is more flexible.
To add an APFS volume: select the APFS container in the sidebar, then click the «+» button above the list of volumes. Give the volume a name and choose the APFS format. The space is shared automatically.
To create a classic partition (required for Windows dual-boot): select the physical device, click on Partition, Add a partition with the desired format (exFAT for Windows) and adjust the size.
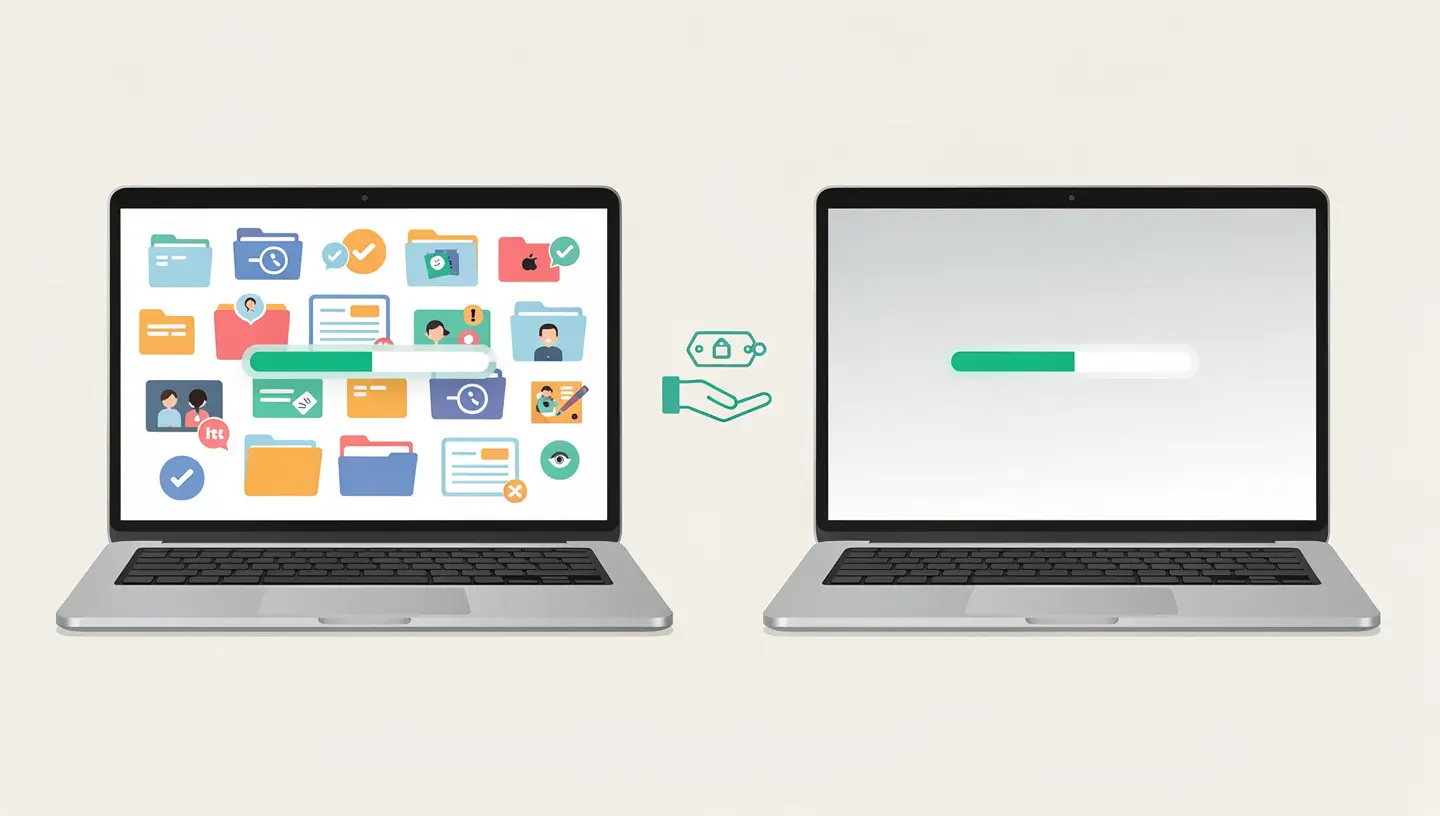
Before you sell or give away your Mac, you need to erase all your data and reinstall macOS. Here's how:
1. Back up your data (Time Machine). 2. Sign out of iCloud (System settings, your name, Sign out). 3. Start up in recovery mode. 4. Open Disk Utility. 5. Select «Macintosh HD» and click on Delete (APFS format). 6. Exit the Utility and install macOS from recovery mode.
For a complete guide with all the checks, see our Mac reset tutorial. If you want to sell your Mac, find out more about our Mac buyback service in Belgium.
Disk Utility can create disk images (.dmg), files that behave like virtual disks. This is useful for archiving a folder as a single image, creating an encrypted volume to store sensitive files, or distributing a set of files as a single downloadable file.
Go to File, New image, then choose «Image from folder» to archive an existing folder, or «Empty image» to create an empty container. You can encrypt the image with AES-128 or AES-256 to password-protect its contents.
Restart in recovery mode and relaunch S.O.S. from there. If the errors persist, back up your data, erase the disk and reinstall macOS. If the disk shows hardware errors, it may be at the end of its life and needs to be replaced.
APFS (Apple File System) is the modern format optimised for SSDs: faster, better space management, native encryption, snapshots. HFS+ (Mac OS extended) is the old format, still used for mechanical hard drives and Time Machine on HDDs. For SSDs, always use APFS.
Format it in exFAT with a GUID partition scheme (or MBR for drives smaller than 32 GB). exFAT is the only modern format that works natively for reading and writing on Mac and Windows, with no file size limit.
On Intel Macs, yes, via Boot Camp. On Apple Silicon Macs, Boot Camp is not available. You can use virtualisation solutions such as Parallels Desktop or UTM to run Windows on Apple Silicon Macs.
No, Disk Utility does not recover deleted data. It can repair a corrupt file system (making files accessible again), but it does not restore deleted files. For recovery, see our file recovery guide.
Try another cable and another USB port. Click on Overview, Show all devices. If the drive still doesn't appear, it may be faulty. Test it on another computer to confirm. A drive that makes unusual clicks or noises is faulty.
This is the standard partition scheme for modern Macs. GUID (Globally Unique Identifier Partition Table) is required to boot macOS and to use APFS. Always choose GUID except for USB sticks intended for very old devices (which require MBR).
No, formatting is irreversible via Disk Utility. However, data recovery software can sometimes recover files after formatting, especially if the disk has not been rewritten since. Act quickly and do not store anything on the formatted disk.
Yes, the S.O.S. function works on all disks connected to the Mac: internal, external, USB keys, SD cards. Select the volume of the external drive and launch S.O.S.
Select the HFS+ volume in Disk Utility, then go to Edit, Convert to APFS. The conversion preserves your data. However, this conversion is only possible in the direction HFS+ to APFS, not vice versa. As a precaution, back up first.


Over 15 years of Apple expertise in Brussels. Free, no-obligation quote and 180-day guarantee on repairs.