
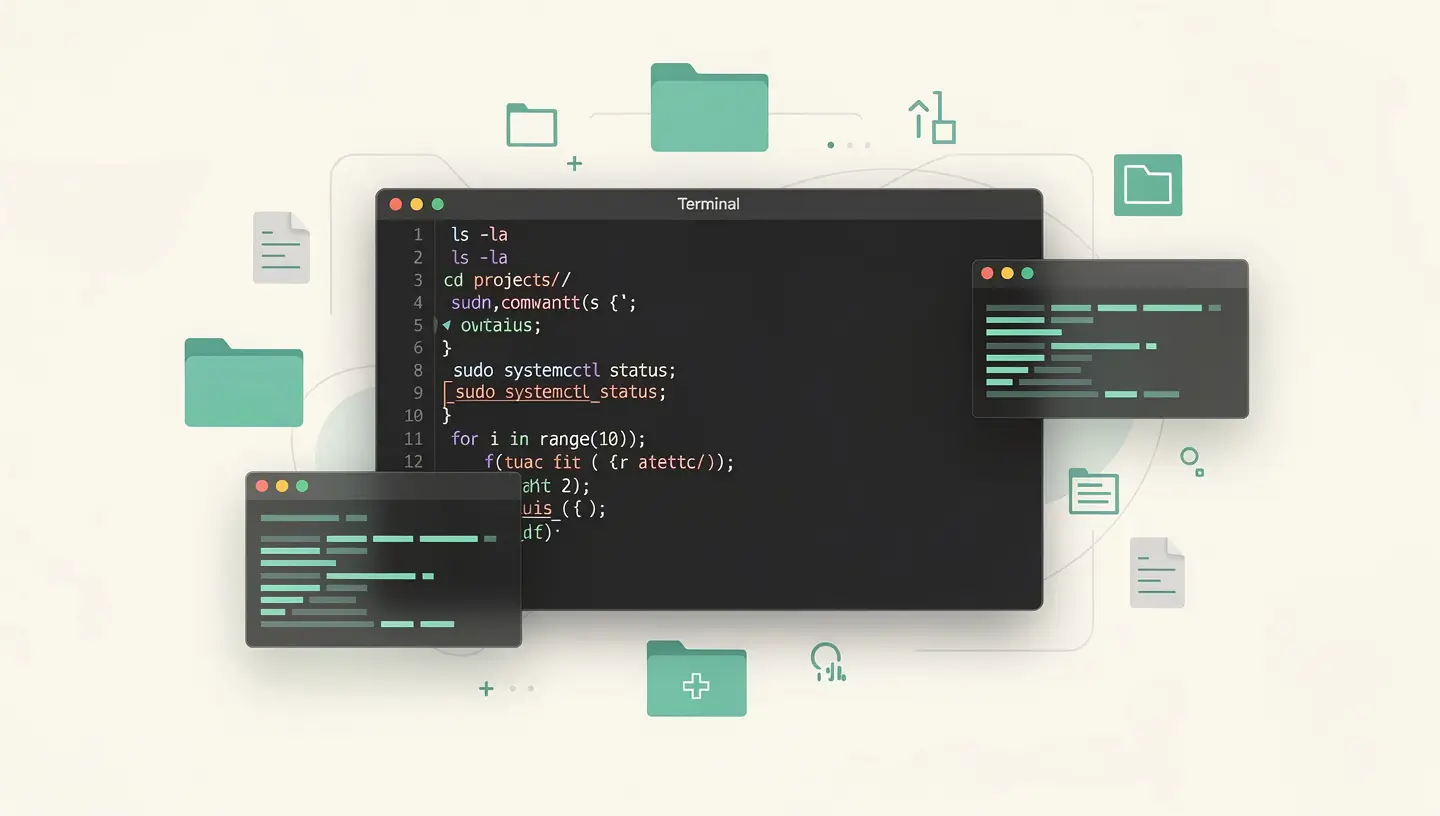
The Terminal is located in Applications → Utilities → Terminal. The quickest way to get there is to type Cmd + Space to open Spotlight, then type «Terminal» and press Enter. The application opens to a plain window with a command prompt - that's where it all happens.
By default, macOS uses zsh (Z Shell) as a command interpreter from macOS Catalina. If your Mac is older and still uses bash, all the commands in this article work in the same way. The main difference between zsh and bash is in the configuration files (.zshrc vs .bashrc) and some advanced behaviour - for everyday use, it's transparent.
Navigation commands are the first to be mastered. They replace clicks in the Finder and quickly become more efficient for repetitive operations or files that are difficult to access.
| Ordering | Description | Example |
|---|---|---|
| pwd | Displays the current directory (Print Working Directory) | pwd → /Users/yourname |
| ls | Lists the contents of a folder | ls -la → displays all files, including hidden ones, with details |
| cd | Change Directory | cd ~/Documents → navigate to the Documents folder |
| mkdir | Create a new folder | mkdir -p Project/Sources/Images → creates the entire tree structure |
| cp | Copying files or folders | cp -R ~/Documents/Project ~/Desktop/ → copy the entire folder |
| mv | Moves or renames files | mv old-name.txt new-name.txt |
| find | Search for files according to criteria | find ~ -name "*.pdf" -size +10M → find PDFs larger than 10 MB |
macOS hides many files and system folders by default (those whose name begins with a dot). To display them permanently in the Finder :
defaults write com.apple.finder AppleShowAllFiles -bool true && killall Finder
To hide them again, replace true by false. On a day-to-day basis, the shortcut Cmd + Shift + . in the Finder toggles the display temporarily - this is often enough.
Some files refuse to be recycled (locked files, files in use or files with restrictive permissions). The Terminal handles them without a hitch:
sudo rm -f /path/to/file-recalcitrant
rm permanently deletes files - no need to go through the Recycle Bin, no easy recovery. Never use sudo rm -rf / or variants that target the entire system. In the event of accidental deletion, consult our guide to recover deleted files.
The Terminal provides direct access to maintenance functions that the graphical interface doesn't always offer. Here are the most useful commands for keeping your Mac in good health.
If some websites no longer load even though your Internet connection is working, the DNS cache is probably corrupted. To clear it :
sudo dscacheutil -flushcache; sudo killall -HUP mDNSResponder
This command works on all recent versions of macOS (Big Sur and later). When executed, your Mac will query the DNS servers again for each site visited, which solves most browsing problems. If your WiFi issues persistent beyond DNS, complementary solutions exist.
softwareupdate -l lists the available updates. To install everything at once :
sudo softwareupdate -ia --agree-to-license
This is particularly useful when System Settings refuses to complete an update or gets stuck on «Check for updates».
To check the integrity of your boot disk :
diskutil verifyVolume /
If errors are detected, you will need to restart in Recovery mode (Cmd + R at startup on Intel, or long power button on Apple Silicon) to use the’Disk utility in repair mode.
df -h displays the space used and available on all mounted volumes. To identify the largest folders :
du -sh ~/* | sort -rh | head -20
This command lists the 20 largest items in your user folder, sorted by decreasing size. A good starting point for free up space on a full disk.
system_profiler SPHardwareDataType shows your Mac's exact model, processor, RAM, serial number and hardware ID. It's a lot quicker than browsing «About this Mac» to find this information. You can also use our Mac identification tool for a visual approach.
The Terminal is an invaluable ally for diagnosing network problems that escape the graphical interface.
| Ordering | Usefulness | Practical example |
|---|---|---|
| ping | Tests connectivity to a server | ping -c 5 google.com → send 5 requests and display latency |
| traceroute | Traces the network path to a destination | traceroute google.com → identifies where traffic is slowing down or getting lost |
| ifconfig | Displays network interface configuration | ifconfig en0 → WiFi interface details (IP address, mask, etc.). |
| networkQuality | Integrated throughput test in macOS (Monterey+) | networkQuality → measures upload, download and latency |
| nslookup | Queries DNS servers | nslookup reparationmac.be → check the DNS resolution of the domain |
The order networkQuality deserves a special mention: integrated since macOS Monterey, it measures the real speed of your connection directly in the Terminal, without the need for a third-party website. Add the -v for a detailed report including RPM (Responsiveness). Depending on the Apple documentation on network testing, This command uses Apple's CDN servers for reliable measurements.
macOS hides many settings that can only be accessed via Terminal. Here are the most popular customisations.
The Dock takes about 0.5 seconds to appear when it is hidden. To remove this delay :
defaults write com.apple.dock autohide-delay -float 0 && killall Dock
To speed up the appearance animation :
defaults write com.apple.dock autohide-time-modifier -float 0.3 && killall Dock
By default, macOS saves captures as PNGs. To switch to JPEG (lighter files) :
defaults write com.apple.screencapture type jpg && killall SystemUIServer
Available formats: png, jpg, gif, tiff, pdf. Find all the options in our complete guide to Mac screenshots.
When you capture a window (Cmd + Shift + 4 then Space), macOS adds a drop shadow. To remove it :
defaults write com.apple.screencapture disable-shadow -bool true && killall SystemUIServer
To visually organise your applications in the Dock with separators :
defaults write com.apple.dock persistent-apps -array-add '{"tile-type"="spacer-tile";}' && killall Dock
Repeat the command as many times as necessary to add several spaces.
Homebrew is to the Mac what apt is to Ubuntu: a package manager that lets you install, update and remove software with a single command. To install :
/bin/bash -c "$(curl -fsSL https://raw.githubusercontent.com/Homebrew/install/HEAD/install.sh)"
Once installed, Homebrew opens up a world of possibilities:
| Ordering | Action |
|---|---|
| brew install wget | Installs a command line tool |
| brew install -cask rectangle | Installs a graphics application (Rectangle, IINA, etc.) |
| brew update | Updates the list of available packages |
| brew upgrade | Updates all applications installed via Homebrew |
| brew cleanup | Removes old versions and frees up space |
| brew doctor | Checks that everything is correctly configured |
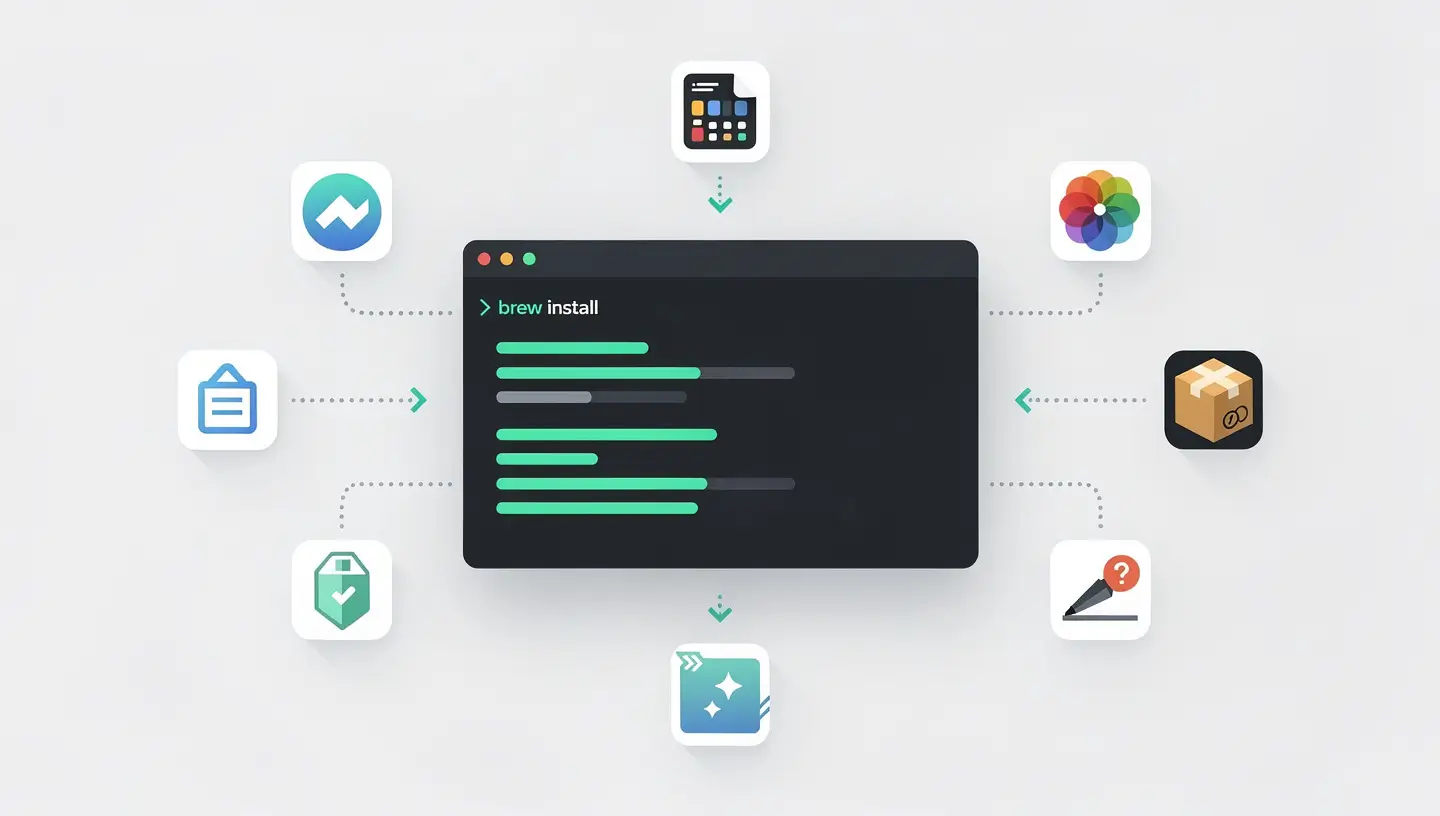
Homebrew is particularly useful for configuring a new Mac quickly: list all your applications in a Brewfile, and a single command (brew bundle) installs everything at once. It's also the tool of choice for Mac developers and system administrators.
The Terminal is a powerful tool, which means it can also cause significant damage if used without care. Here are the basic rules.
Never blindly copy an order from the Internet. Read it, understand what it does and then run it. A command like sudo rm -rf / deletes your entire hard disk - and the Terminal asks for no confirmation.
Use sudo sparingly. This command executes the following instruction with administrator rights. Only add it when explicitly required - and only if you understand why.
Make a backup before any system manipulation. If you modify system files or deep preferences, a backup Time Machine will save you in the event of a problem. A return to factory settings is always possible as a last resort, but you will lose your unsaved data.
defaults write modify system preference files. To undo a change, use defaults delete [domain] [key]. If in doubt, make a note of each command executed so that you can reverse it.
The Terminal itself cannot damage anything. It's the commands you run that can delete files, change the system configuration or alter the way macOS works. As long as you understand what each command does before executing it, the risk is minimal. The commands listed in this article are all safe and reversible.
Terminal is Apple's native application, functional and lightweight. iTerm2 is a free alternative with advanced features: tabs, split panes, enhanced search, customisable profiles. Warp is a modern terminal with AI-assisted autocompletion and a block-based interface. For basic commands, the native Terminal is more than sufficient.
Press the Ctrl + C to stop most commands in progress. If the command does not respond, Ctrl + Z puts it in the background (you can then end it with kill %1). To quit an editor such as nano, use Ctrl + X; for vim, type :q! and Entry.
Yes, all the commands listed in this article work identically on Intel and Apple Silicon Macs (M1 to M4). The only difference concerns Homebrew, which is installed in /opt/homebrew/ on Apple Silicon instead of /usr/local/ on Intel, but this is handled automatically during installation.
Use the up and down arrows to navigate through the order history. For a more precise search, press Ctrl + R then type a keyword: the Terminal will display the last command containing this word. The command history lists all recent orders and their numbers.
Not at all - macOS is perfectly usable without ever opening the Terminal. However, knowing a dozen or so basic commands will save you time on certain tasks and enable you to solve problems that the graphical interface doesn't handle. It's a complementary tool, not a replacement for the Finder.
Create a text file with the .sh extension, add #!/bin/zsh in the first line, write your commands underneath, then make the file executable with chmod +x monscript.sh. Then run it with ./monscript.sh. This allows you to automate sequences of commands that you use regularly.
sudo (Super User DO) executes a command with administrator privileges, necessary to modify system files, install global software or access protected directories. macOS asks for your session password to confirm that it's really you. The password does not appear on the screen when you type it - this is normal, type it and press Enter.
Add | pbcopy at the end of any command to copy its output to the clipboard. For example, system_profiler SPHardwareDataType | pbcopy copies hardware information from your Mac, ready to paste into an email or document. The other way round, pbpaste, pastes the contents of the clipboard into the Terminal.
No. The Terminal works in macOS at runtime. Recovery mode is a separate boot environment, accessible on reboot, which offers Disk Utility, reinstallation of macOS and a limited Terminal. The safe mode loads macOS with a minimum of components to diagnose software conflicts. The three are separate tools.


Over 15 years of Apple expertise in Brussels. Free, no-obligation quote and 180-day guarantee on repairs.