
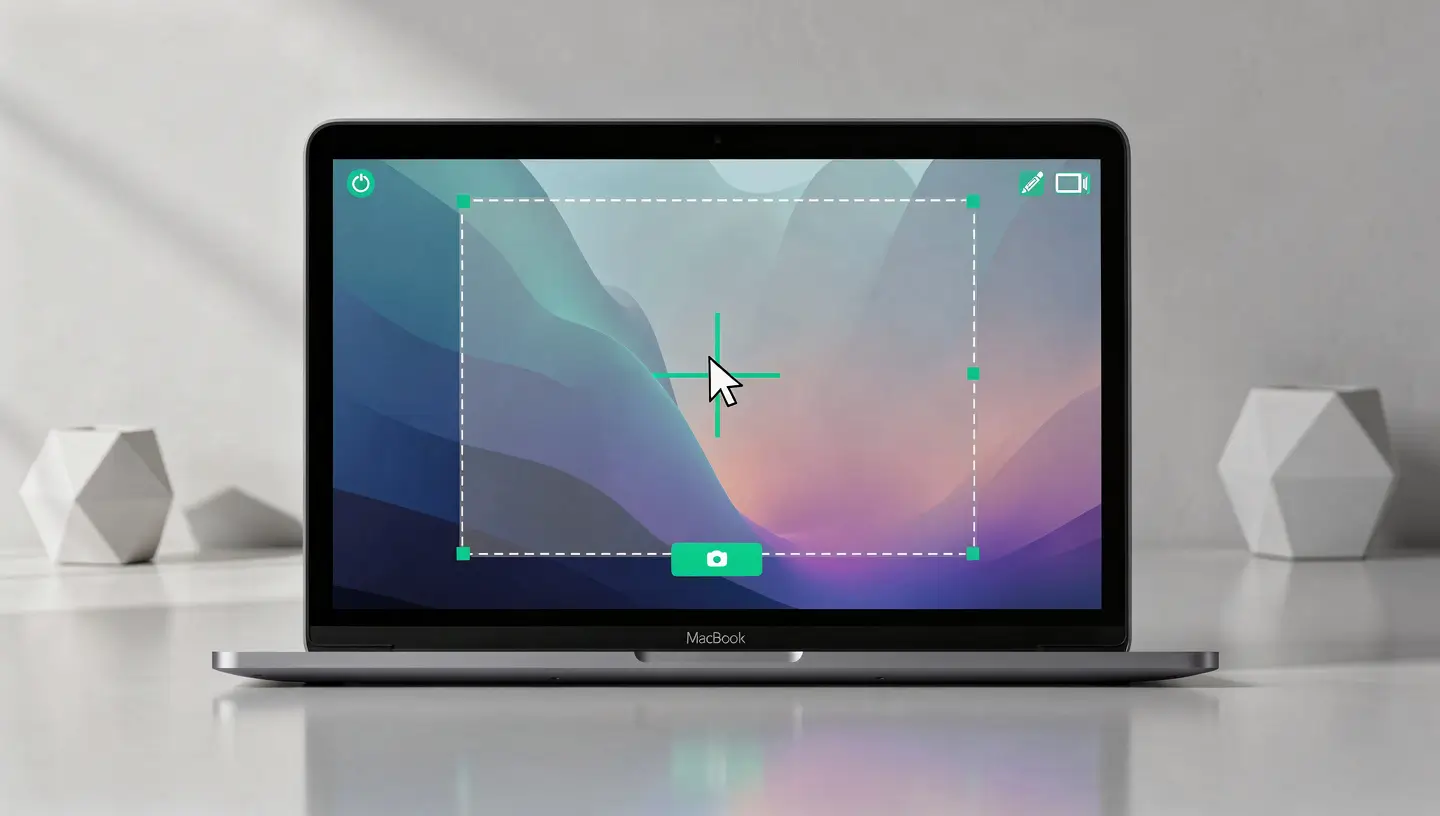
macOS natively integrates a powerful screen capture system. There's no need to install third-party software: it's all done from the keyboard. Here are the five shortcuts you absolutely need to know, ranked according to how often they are used by the customers we work with in our Brussels workshop.
| Shortcut | Action | Results |
|---|---|---|
| Cmd+Shift+3 | Capture the whole screen | PNG image saved on the desktop |
| Cmd+Shift+4 | Capture a selected area | Cross-hair cursor, draw the area to be captured |
| Cmd+Shift+4 then Space | Capture a specific window | Camera cursor, click on the |
| Cmd+Shift+5 | Opens the full capture tool | Toolbar with all options |
| Cmd+Shift+6 | Capture the Touch Bar | Only on MacBook Pro with Touch Bar |
After each capture, a thumbnail appears briefly in the bottom right-hand corner of the screen. Click on it to annotate or crop the capture immediately. If you do nothing, the image is automatically saved to the desktop after a few seconds.
Since macOS Mojave (10.14), Apple has offered a unified tool accessible via Cmd+Shift+5. It replaces the old Capture utility (Grab) and centralises all the functions in a single interface. This is the method we recommend for users who don't want to memorise several shortcuts.
When you press Cmd+Shift+5, a toolbar appears at the bottom of the screen with five icons from left to right: capture whole screen, capture window, capture selected area, save whole screen and save selected area. This is the starting point for all your captures.
The Options button in the toolbar gives access to essential settings that many users ignore.
| Option | Choices available | Recommendation |
|---|---|---|
| Save inWhere the capture is saved | Desktop, Documents, Clipboard, Messages, Mail, Preview, Other folder | Desktop (default) or a dedicated Captures folder |
| TimerTime to capture | None, 5 seconds, 10 seconds | 5 seconds to capture a drop-down menu |
| Show floating thumbnailThumbnail after capture | On / Off | Enabled (enables quick annotation) |
| Remembering the last selectionReuses the same frame | On / Off | Enabled if you often capture the same area |
| Show mouse pointerCursor visible on the capture | On / Off | Enabled for tutorials, disabled otherwise |

Want to paste a capture directly into an email, Pages document or Messages conversation without cluttering up your desktop? Simply add the Ctrl key to any capture shortcut.
| Standard shortcut | Clipboard version | Action |
|---|---|---|
| Cmd+Shift+3 | Ctrl+Cmd+Shift+3 | Full screen in clipboard |
| Cmd+Shift+4 | Ctrl+Cmd+Shift+4 | Area selected in the clipboard |
| Cmd+Shift+4 then Space | Ctrl+Cmd+Shift+4 then Space | Clipboard window |
Then simply press Cmd+V to paste the capture wherever you like. No file is created on the disk, which keeps your desktop clean.
By default, macOS saves captures in PNG format on the Desktop with a name like «Screenshot 2026-03-29 at 14.30.22.png». Each parameter can be modified.
From macOS Mojave, it's simple: press Cmd+Shift+5, click Options, then choose a new location in the Save in section. You can select Desktop, Documents, Clipboard, Mail, Messages, Preview or click Other location to choose any folder.
The PNG format offers maximum lossless quality, but the files are large (often 2 to 5 MB per capture). If you prefer a lighter format, open the Terminal (Applications then Utilities then Terminal) and type the corresponding command.
| Desired format | Terminal control | Average weight |
|---|---|---|
| PNG (default)Lossless, better quality | defaults write com.apple.screencapture type png |
2 to 5 Mb |
| JPGCompressed, lightweight, ideal for the web | defaults write com.apple.screencapture type jpg |
300 Kb to 1 Mb |
| PDFVector, ideal for printing | defaults write com.apple.screencapture type pdf |
Variable |
| TIFFHigh quality, high volume | defaults write com.apple.screencapture type tiff |
5 to 15 Mb |
| GIF256 colours, lightweight | defaults write com.apple.screencapture type gif |
200 Kb to 1 Mb |
After entering the command, restart the interface by typing killall SystemUIServer in Terminal, or simply restart your Mac.
To replace the «Screen capture» prefix with a shorter word, use this command in Terminal :
defaults write com.apple.screencapture name "cap"
Your captures will now be called «cap 2026-03-29 at 14.30.22.png». Handy if you sort your files by name.
When you capture a window with Cmd+Shift+4 then Space, macOS automatically adds a drop shadow around it. This is aesthetic but cumbersome if you include the capture in a document. Two solutions:
Quick fix: hold down the Option key when you click on the window. The shadow disappears for this capture only.
Permanent solution: in Terminal, type defaults write com.apple.screencapture disable-shadow -bool true then killall SystemUIServer. To reactivate the shadows, replace true by false.
The Screen Capture tool (Cmd+Shift+5) also lets you record a video of your screen, with or without sound. It's ideal for creating tutorials, reporting a bug to a technician or documenting a recurring problem.
Press Cmd+Shift+5. In the toolbar, choose the icon for recording the whole screen or recording a selected area. Click Options to activate the microphone if you wish to record your voice. Click Record. To stop recording, click on the Stop icon in the menu bar or press Cmd+Shift+5 again and then Stop.
| Option | Usefulness |
|---|---|
| Built-in microphone | Records your voice at the same time as the screen |
| Show mouse clicks | Adds a circle around the cursor when clicked (useful for tutorials) |
| 5s/10s timer | Gives you time to prepare the screen before recording |
Videos are recorded in MOV format. For easier sharing, you can convert them to MP4 directly from the QuickTime Player app (File then Export as).
macOS includes directly integrated annotation tools, with no need to open a separate application.
Just after taking a capture, click on the thumbnail that appears at the bottom right of the screen. An editing window opens with the mark-up tools: geometric shapes, text, arrows, highlighting, signature and magnifying glass. Click OK to save your changes.
Open any capture in Preview and click on the mark-up icon (a pencil in a circle) in the toolbar. This gives you access to the same annotation tools, plus advanced options such as cropping, colour adjustment and format conversion.
| Tool | Current use |
|---|---|
| Shapes (rectangle, circle, arrow) | Frame or point at an element on the screen |
| Text | Add a comment or caption |
| Highlighting | Highlighting a passage |
| Magnifying glass | Zoom in on a detail (ideal for showing an error message) |
| Signature | Sign a captured document directly |
| Reframing | Remove unnecessary edges after capture |
After 15 years of training customers on their Macs at Réparation MAC, here are the tips we share most often that surprise even advanced users.
While you are drawing a selection area with Cmd+Shift+4, hold down the space bar (without releasing the mouse button). The area moves without changing size. Release the space bar to resume resizing.
While the area is being drawn, hold down the Shift key to lock an axis (height or width). Useful for capturing a perfectly aligned horizontal or vertical strip.
Menus close as soon as you press a keyboard shortcut. The solution: open the menu, press Cmd+Shift+5, set the timer to 5 seconds, click Capture, then quickly reopen the menu. The capture is triggered after 5 seconds with the menu visible.
On MacBook Pros equipped with a Touch Bar (2016-2020), the shortcut Cmd+Shift+6 only captures the contents of the Touch Bar. The resulting image is a thin horizontal strip in PNG format.
The Lock Screen does not respond to standard capture shortcuts. To capture it, use QuickTime Player on a second Mac connected by cable: File then New video recording then select the screen on the target Mac.
Do you find Cmd+Shift+3 uncomfortable? Go to System Settings then Keyboard then Keyboard Shortcuts then Screenshots. You can redefine each shortcut to suit your preferences.
To avoid cluttering up your Desktop, create a «Captures» folder in your Images folder, then change the location where you save them using Cmd+Shift+5 then Options then Other location. You can also drag this folder into the Dock for quick access.

Press Cmd+Shift+3 to capture the whole screen, or Cmd+Shift+4 to select a specific area. For more options (video recording, timer, choice of location), use Cmd+Shift+5, which opens the full macOS screen capture tool. By default, captures are saved in PNG format on your desktop.
By default, screenshots are saved to your Mac's Desktop with a name like «Screenshot [date] to [time].png». To change the location, press Cmd+Shift+5, click Options, then choose a different folder in the Save in section.
Press Cmd+Shift+4, then press the space bar. The cursor changes to a camera. Click on the window you want to capture. To remove the shadow around the window, hold down the Option key as you click.
Open Terminal (Applications then Utilities then Terminal) and type : defaults write com.apple.screencapture type jpg then press Enter. Confirm with killall SystemUIServer. You can replace «jpg» with png, pdf, tiff or gif as required. The JPG format is lighter but lossy compressed.
Open the Screen Capture app from the Applications folder, then Utilities. You can also use Spotlight (click on the magnifying glass in the menu bar) and type «Screenshot». The tool offers the same functions as the keyboard shortcuts, accessible entirely with the mouse.
Add the Ctrl key to any capture shortcut. For example, Ctrl+Cmd+Shift+3 copies the whole screen to the clipboard, and Ctrl+Cmd+Shift+4 copies a selected area. Then simply press Cmd+V to paste the capture into an e-mail, document or conversation.
Press Cmd+Shift+5 to open the screen capture tool. Choose the icon to record the whole screen or a selected area. Click Options to activate the microphone if you wish to comment. Click on Record, then on the Stop icon in the menu bar when you have finished. The video is saved in MOV format.
First check in System Settings then Keyboard then Keyboard Shortcuts then Screenshots that the shortcuts are enabled. Then check that no third-party application (such as CleanMyMac, Bartender or a screenshot tool) captures them before macOS. Restart the Mac in Safe Mode to test. If the problem persists, a diagnostic can identify a software conflict or a keyboard problem.
Two methods: occasionally, hold down the Option key when you click on the window after Cmd+Shift+4 then Space. Definitively, type in Terminal : defaults write com.apple.screencapture disable-shadow -bool true then killall SystemUIServer. To reactivate the shadow, replace true with false.
Click on the thumbnail which appears in the bottom right-hand corner just after the capture to open the built-in mark-up editor. You can add shapes, text, arrows, highlight or crop. Alternatively, open any capture in the Preview app and click on the mark-up icon (pencil in a circle) in the toolbar.


Over 15 years of Apple expertise in Brussels. Free, no-obligation quote and 180-day guarantee on repairs.