

Video editing is one of the most demanding tasks you can ask of a Mac. Every component is called upon: the processor decodes and encodes video streams, the GPU manages effects and previews in real time, RAM stores images in memory for instant access, and storage has to keep up with considerable data rates - a 4K ProRes HQ stream represents around 110 MB/s continuously.
Before optimising anything, you need to know what your machine is capable of. Here are the recommendations, depending on the working resolution.
| Resolution | Minimum RAM | Recommended storage | Recommended processor |
|---|---|---|---|
| 1080p (Full HD) | 8 GB (16 GB recommended) | Internal or external USB 3 SSD | Any recent Mac (last 5 years) |
| 4K | 16 GB (32 GB recommended) | External NVMe SSD (Thunderbolt or USB4) | M1 Pro and above, or recent Intel i7/i9 |
| 6K / 8K | 64 GB minimum | Thunderbolt SSD RAID | M2 Max/Ultra or Mac Pro |
To check your Mac's specifications, click Apple → About this Mac. If you're not sure of your exact model, our Mac identification tool gives you all the technical information you need in just a few clicks.
Storage is the number one limiting factor in video editing. A 10-minute 4K project can easily take up 50 to 100 GB of raw rushes, plus render files, caches and exports. A nearly full disk will drastically slow down macOS and your editing software.
Always keep at least 20 % of your internal disk free. macOS uses free space for swap (virtual memory), temporary files and caches. Below this threshold, performance drops sharply. If your Mac is cluttered, our guide cleaning your Mac helps you reclaim space quickly.
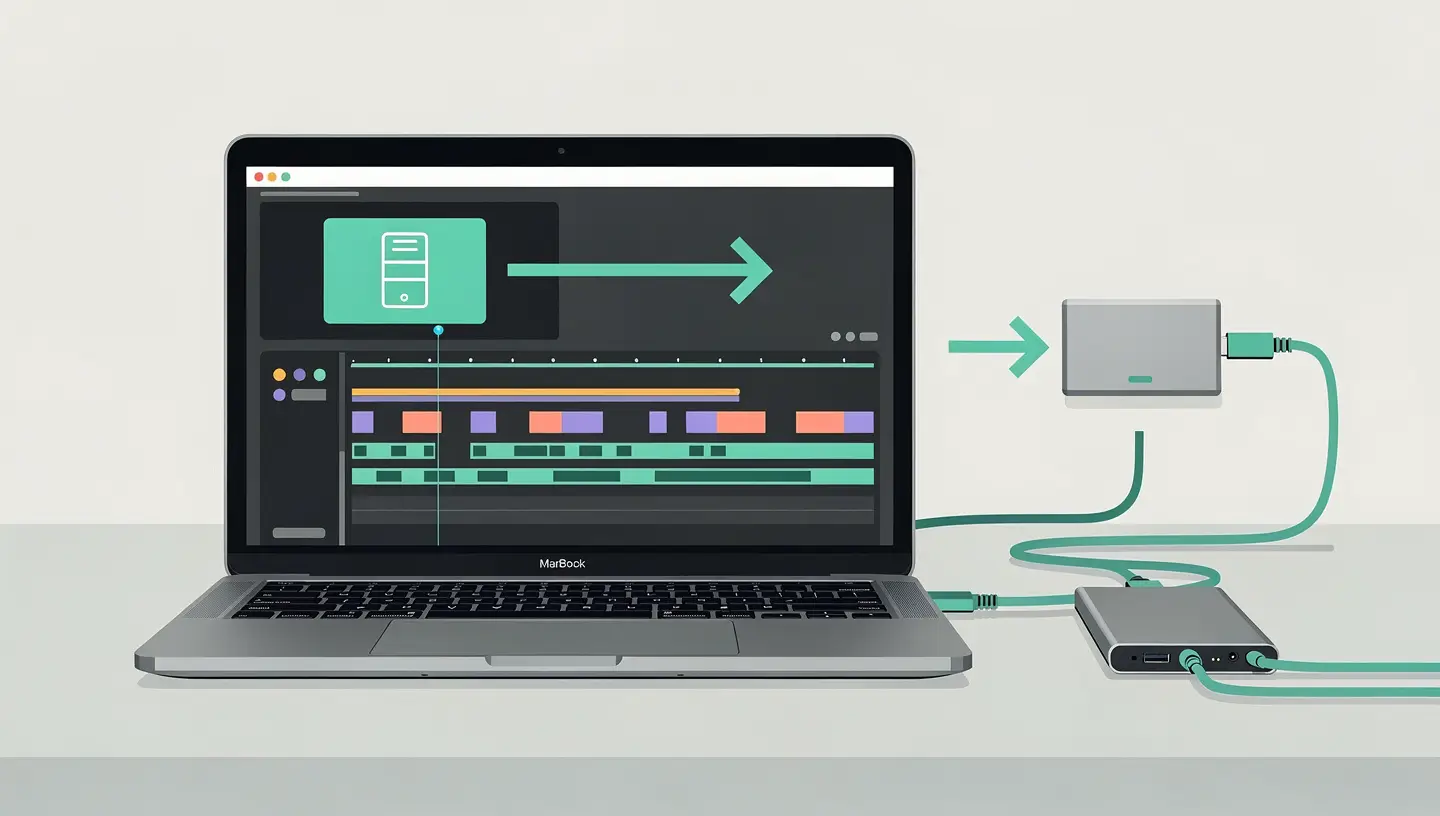
Professional practice consists of storing rushes and projects on a dedicated external drive, leaving the internal drive for the system and applications. This has several advantages: your internal drive remains fast, projects are portable (you can work on another Mac), and back-up is simplified.
| Type of external drive | Actual flow | Enough to | Indicative budget (1 TB) |
|---|---|---|---|
| USB 3.2 Gen 2 SSD | 800-900 Mb/s | 1080p multi-track, 4K single | 80-120 € |
| Thunderbolt 3/4 SSD | 2,500-2,800 Mb/s | 4K multi-track, 6K | 200-350 € |
| USB4 SSD | 3 000-3 800 Mb/s | 4K/6K multi-track | 180-300 € |
| Thunderbolt SSD RAID | 5,000+ Mb/s | 8K, demanding workflows | 800+ € |
Final Cut Pro is the most optimised editing tool for the Mac, because Apple controls both the hardware and the software. A few settings maximise performance:
DaVinci Resolve is extremely powerful but more resource-hungry. Here are the essential optimisations:
Proxy files are the most effective optimisation technique for video editing, particularly on portable Macs or modest configurations. The principle is simple: you edit with lightweight files (proxies) and the final rendering uses the original files in full quality.
The editing software creates a lightweight copy of each source clip - typically in reduced resolution (1080p instead of 4K) and in a less demanding codec (ProRes Proxy or H.264). You edit, cut, splice and add effects to these lightweight files. At the final export stage, the software automatically replaces the proxies with the originals. The result is identical, but the editing process is infinitely smoother.
A few tweaks to macOS can free up significant resources for video editing.
Before an editing session, close everything that consumes RAM and CPU in the background: browsers with lots of tabs (Chrome is particularly greedy), email applications, cloud synchronisation software (Dropbox, Google Drive), and Notification Centre widgets. To see how much each process consumes, open the Activity monitor (Applications → Utilities) and sort by CPU or Memory.
Visual effects in macOS consume GPU resources. Go to System Settings → Accessibility → Display and enable «Reducing entertainment». It's not miraculous, but every percentage of GPU recovered counts when editing with real-time effects.
On a MacBook, always connect the charger during assembly. macOS throttles battery performance to preserve battery life. In System Settings → Battery → Options, deactivate «Automatic energy-saving mode» during your intensive editing sessions.
If you plug in a new external drive containing hundreds of gigabytes of rushes, Spotlight will attempt to index everything, which consumes CPU and disk. Add your rush disk to Spotlight exclusions: System Settings → Spotlight (or Siri and Spotlight) → Privacy → add volume.
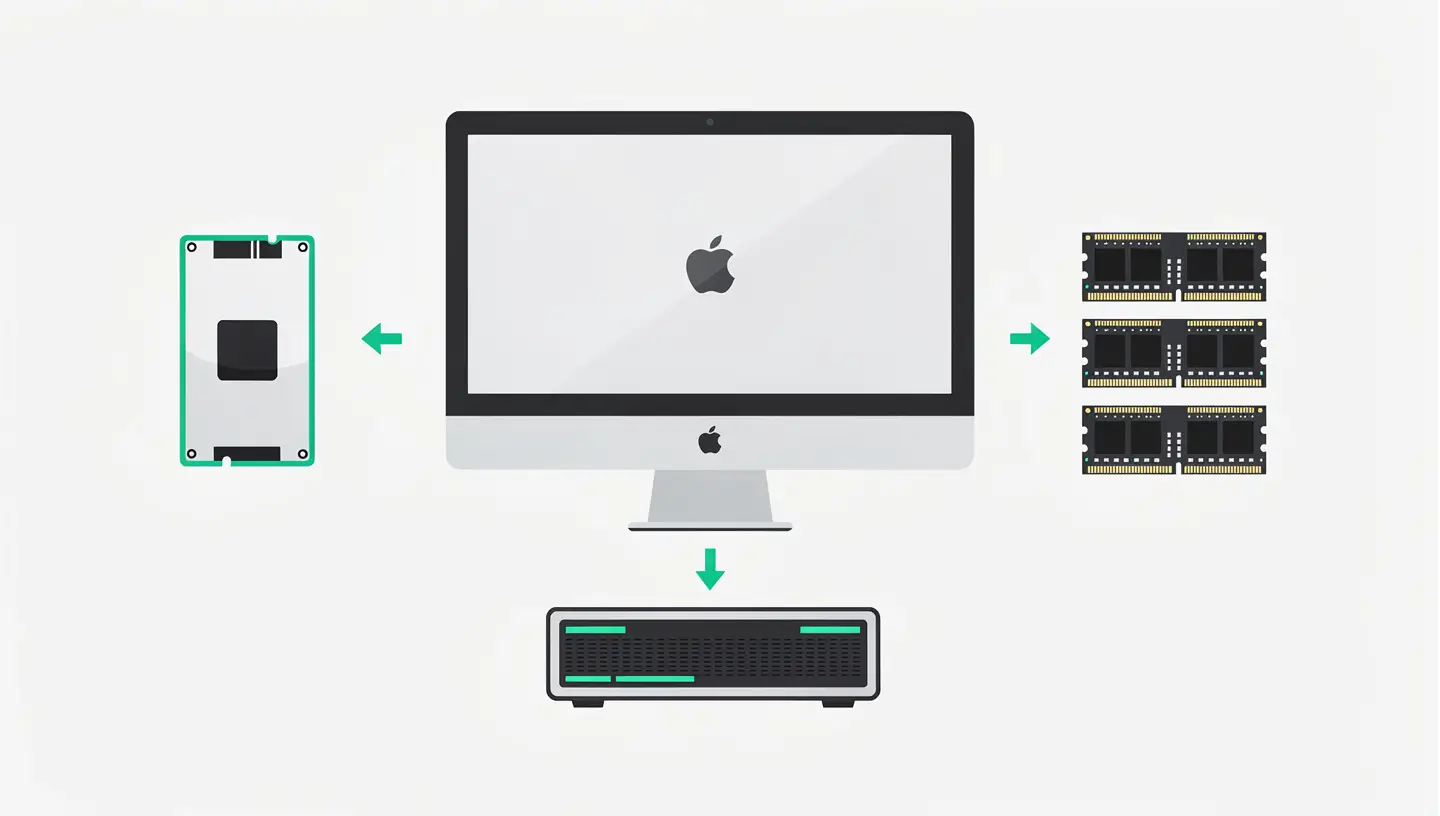
If software optimisation isn't enough, a hardware upgrade can radically transform the editing experience on Macs that support it.
If your Mac still has a mechanical hard drive (common on pre-2013 iMacs and MacBook Pros), replacing it with an SSD is the best possible upgrade. The gains are spectacular: boot-up in seconds instead of minutes, instant launch of applications, smooth playback of video files. See our Mac SSD upgrade guide for compatible models and procedure.
More RAM means more clips in memory, more real-time effects and less need for disk swap. On compatible models (iMac 27″ 2012-2020, Mac mini 2012, MacBook Pro pre-2013, Mac Pro), going to 16 or 32 GB makes a considerable difference to editing. Our Mac RAM upgrade guide details the specifications for each model.
Intel Macs with Thunderbolt 3 support eGPU (external GPU) boxes. An AMD Radeon eGPU significantly accelerates real-time rendering and playback in DaVinci Resolve. This option is not available on Apple Silicon Macs, whose integrated GPU is generally sufficient.
Apple Silicon chips have fundamentally changed video editing on the Mac. Their architecture incorporates hardware engines dedicated to video decoding and encoding (Media Engine), capable of processing several 4K and 8K ProRes streams simultaneously without using the main CPU.
At Apple Silicon, ProRes and HEVC (H.265) codecs benefit from full hardware acceleration. In concrete terms, a MacBook Pro with an M1 Pro chip or higher can play back several 4K ProRes streams simultaneously without any jerkiness - a feat that required a €10,000 Mac Pro a few years ago.
On the other hand, the H.264 codec - which is still very widespread - is partially hardware-accelerated but remains more demanding to decode. If your rushes are in H.264, conversion to ProRes before editing is still recommended for complex projects.
Final Cut Pro supports ProRes RAW natively on Apple Silicon, allowing you to edit camera RAW files with total control over exposure and white balance - without intermediate files and with smooth performance. If you work with cameras that record in ProRes RAW (Atomos, Nikon Z, etc.), this is a powerful workflow to explore.
Apple's Compressor application makes full use of Apple Silicon's hardware engines for final encoding. A 4K ProRes to H.265 export that used to take 45 minutes on an Intel Mac is often completed in 10 to 15 minutes on Apple Silicon - and the Mac remains usable during rendering thanks to the chip's energy efficiency.
For occasional 1080p editing, a MacBook Air with an M chip is all you need. For regular 4K, a MacBook Pro with a Pro chip (M1 Pro, M2 Pro, M3 Pro or higher) and 16GB of memory is the comfortable minimum. For 4K multicam or 6K/8K, aim for a MacBook Pro Max/Ultra or a Mac Studio with at least 32 GB. The choice also depends on portability: see our MacBook Air vs Pro comparison to make up your mind.
For simple 1080p editing with Final Cut Pro, 8 GB of unified memory on Apple Silicon is usable. But as soon as you work in 4K, add effects or open other applications in parallel, the limits appear. For serious use, 16 GB is the recommended minimum, and 32 GB offers an appreciable margin of comfort.
Final Cut Pro is more optimised for macOS because Apple has developed it specifically for its hardware. It makes better use of the hardware engines in Apple Silicon chips. DaVinci Resolve is more versatile (colour grading, visual effects, audio) but more resource-hungry. For a modest Mac, Final Cut Pro offers better raw performance.
Use hardware acceleration: in Final Cut Pro, export in ProRes or H.265 (HEVC) to take advantage of the Media Engine. Close all other applications while exporting. On Apple Silicon, the Compressor application offers even faster encoding than direct export. Avoid codecs without hardware acceleration (VP9, AV1 on certain models).
An increase in temperature and fan speed is normal during video editing - it's a sign that the processor is working at full power. If your Mac shuts down or slows down excessively due to thermal throttling, it's a problem. Check that the air inlets are not blocked and consult our article Mac overheating for solutions.
APFS is the best choice for a disk used exclusively with Macs. If you share the drive between Mac and PC, ExFAT is compatible with both systems. Avoid FAT32 (4GB limit per file, incompatible with large video files) and NTFS (read-only on Mac without third-party software).
No. Proxy files are only used during editing for preview purposes. The final export automatically uses the original files in full quality. This is a standard technique used in all professional productions, from short films to Hollywood movies.
Delete render files (in Final Cut Pro: File → Delete generated render files), proxy files that are no longer needed, and DaVinci Resolve caches (Playback → Delete render cache). Archive completed projects on an external disk before deleting them from the working disk. Our guide cleaning your Mac details other methods.
A mechanical hard disk drive (HDD) may be suitable for simple 1080p editing with light codecs, but it will be a severe bottleneck for 4K. Its data rate of 100-150 MB/s is insufficient for ProRes 4K streams (around 110 MB/s per track). An external SSD is highly recommended when working in 4K or with multiple tracks.
Absolutely. With over 15 years' experience since 2010, our team performs SSD and RAM upgrades on compatible models, cleans and optimises macOS, and advises on the best configuration for your video use. All our services are covered by a 180-day guarantee. Take appointment for a personalised diagnosis.


Over 15 years of Apple expertise in Brussels. Free, no-obligation quote and 180-day guarantee on repairs.